advertisement
22 April 2026
Greetings, fellow color enthusiasts! We’ve got a fun one for ya today, as DM Ben couldn’t take the paint-bottle desk chaos another day! Something had to be done! So, who ya gonna call? Why, your friendly Star Trek Replicator/3D Printer, of course. Allow us to show you the way!
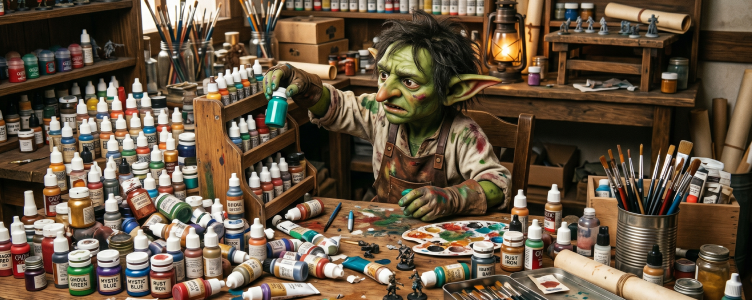
DM Ben has deemed 2026 the year of efficiency and order. His hobby desk is almost always an absolute mess, and much of it has to do with paint bottles clumped in small piles everywhere. It’s getting so bad that DnD could shoot an episode of Hoarders inside his home office. Something has to give. Once he got all his Dwarven Forge organized in easy-to-access and store cases, the paints were next on his organizational hit list!
So, what are we dealing with? Well, DM Ben uses three core paint brands and has them as full sets: Army Painter Speedpaints, Army Painter Fanatic Paints, and Green Stuff World (regular and dipping inks). He also has a couple of dozen Citadel Contrast Paints sprinkled in for good measure, but they’re just so darn pricey that he can’t commit to a full set. There’s a paint rack organizational question that literally split the 3DRPG team right down the middle, but more on that later in this DnD article.
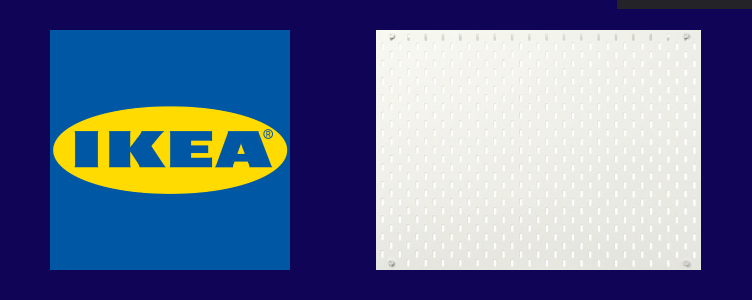
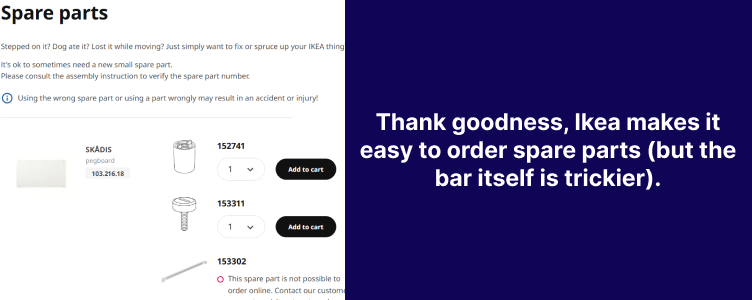
While DnD display cases take up the majority of his wall space (to show off all those sparkly final TTRPG 3D prints), he noticed a break in the clouds and decided the time was right to use that open office wall space for more accessible paint storage. Having heard great things about Ikea’s Skadis series and its 3D printing community support, we decided to help him create the perfect solution. DM Ben purchased a 30×22 white Skadi board for $29.99 to get the ball rolling.
We don’t mind buying things if it’s less of a hassle and cheaper to buy the piece than 3D-print it, but the paint bottle holders from Etsy and even Temu are absurdly overpriced. Like, at least $3.95 per printed STL set?! That’s way too pricey because we ended up 3D printing a bunch of ’em over two weeks, and all it cost us was one bottle of Super Glue ($6) and 1.5 rolls of Hatchbox PLA ($42). This was definitely the most cost-effective route, given that we 3D-printed the pieces ourselves rather than buying them online.
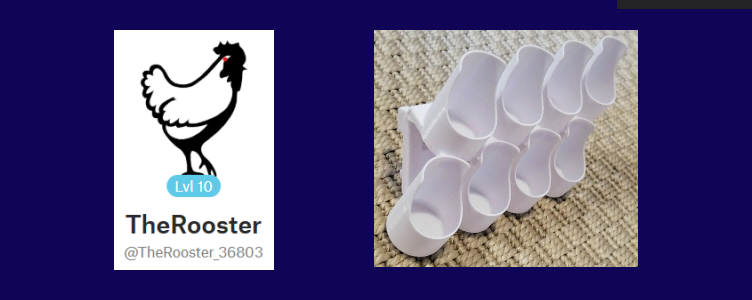
We searched around, and one particular maker leaped out at us – this dude called The Rooster on Printables. His paint bottle holder had excellent reviews, and the comments were filled with satisfied hobbyists singing his praises. That was good enough for us. So, we did a test print, tried it out on our newly acquired Ikea Skadis pegboard, and we’re hooked (pun intended)!
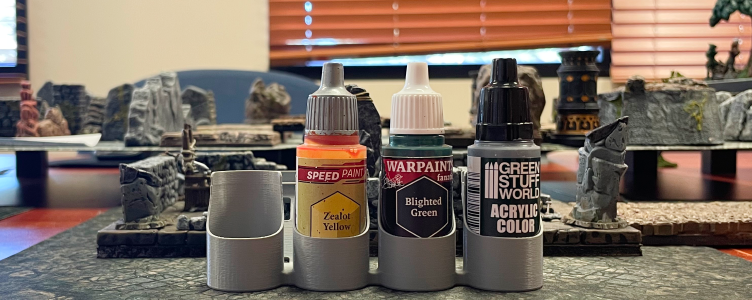
Now, he does two versions of the files, and the distinction between them is super important. If you have several paint brands and, consequently, different-sized bottles, you want to 3D print the “255” file version (which indicates a 25.5 mm larger-sized holder). That way, you can have both an Army Painter Bottle and a slightly larger Green Stuff World bottle in the rack.
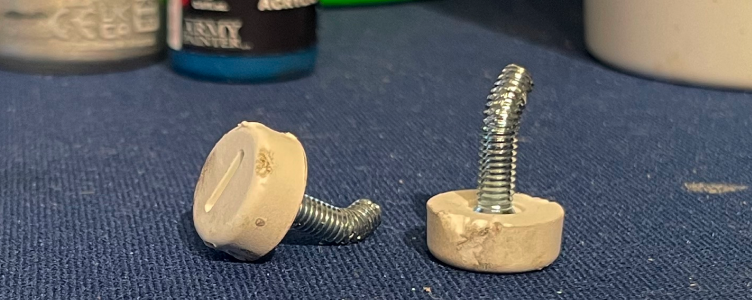
The only bummer is that the larger file means you can’t 3D print a single piece; instead, you have to print the top and bottom pieces separately and glue them together. Not a big deal, but an extra step nonetheless.

Let’s review what you actually need to drop into your slicer to 3D print your new wall-mounted paint holder!
Again, you’ll need to use some super glue to adhere the top piece to the bottom piece, but that step is easy. The hooks are inserted into the back of the bottom piece, but they can be a little snug. You might need to use a simple file and give it a rub-a-dub-dub so the hooks fit into those insertion points a bit more easily.
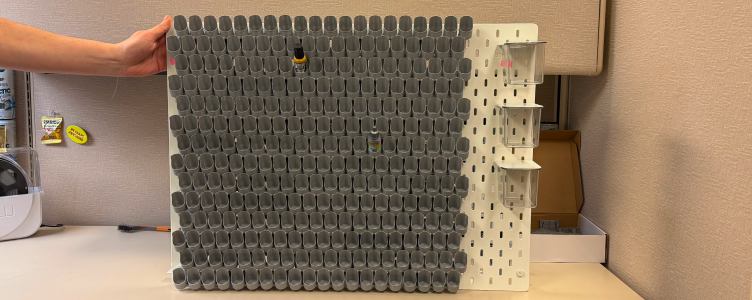
So, here’s what a completed board looks like, so you can get a better handle on the numbers in this article. DM Ben had to order a three-pack of these hanging containers in order to get everything shipped to his door. Yes, he could have gone to IKEA and picked up his board, but then his girlfriend would have spent $200+ more on silly house stuff, so paying an extra $10 for delivery was the better financial decision. 😉
Those see-through containers will ultimately be quite handy as DM Ben will probably put different-sized bases in those, so he doesn’t have to dig for them after a successful DnD mini or scatter terrain piece paint job.
DM Ben mounted it to his home office wall earlier this week, but it wasn’t without some drama. The reason we’re not showing it to you with all the paints in place is because…brace yourself now. When he brought the board and mounting bracket home from work, there was the usual chaos from his girlfriend and our puppy office mascot, Winnie Lou. He set the bar on top of his car for what he thought would be a brief moment (since the board itself required both hands to carry into the house).
Welp, fast forward 30 minutes, and DM Ben heads out to the gym for some cardio. Alas, he left the mounting bracket on top of the car and drove to the gym. That bar fell off the top of his car and into the street, where it naturally got run over. He was able to fix it with a pair of pliers and a vice, but he had to use nails for the two top pins, and that isn’t perfectly secure.
Hence, DM Ben ordered a second board. We have some super handy tool-fellas here on the 3DRPG team, so they’re going to fix that bar a bit better, and we have replacement pins for the top coming. DM Ben’s girlfriend wants a Skadi board in her office for all her hobby stuff anyway, so everything works out in the end.
Finally! Here is the final board with all the paint holders 3D-printed and placed on the Skadis board! This picture does not do it justice! This new hobby paint organizational system looks frickin’ amazing. One mighty office debate remained, though! How do we specifically place our three different paint brands on the board itself?
The office voted, and all the ladies picked Option A (by color), and all the guys picked Option B (by brand). Staffer Fun Bobby made the best point, though. We often ask Google, “What specific Army Painter paints would you use to paint this Dretch miniature?” DM Ben does this suggested paint scheme web move alllll the time now, so sorting by brand won out here.
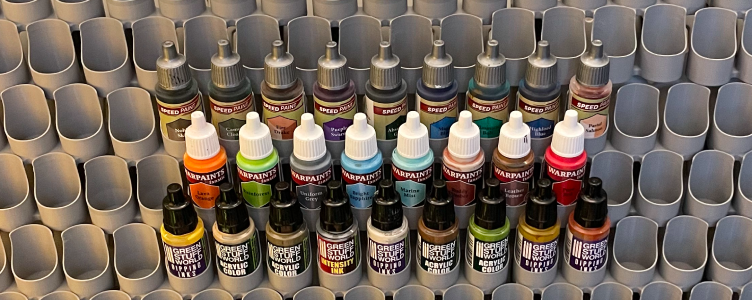
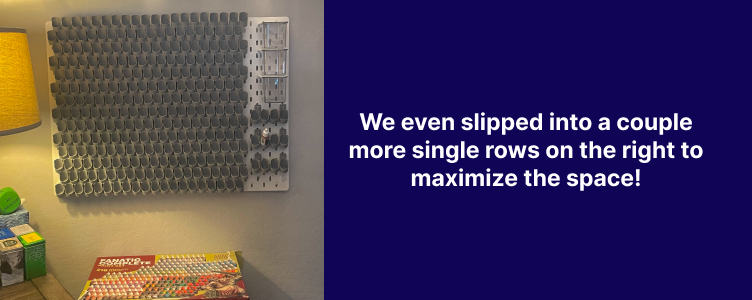
The bottle holder angle is especially good because it maximizes space while still letting you see the paint bottle color without any blocking. That efficient stacking and quick-glance paint surveying as you try to find your bottles really blew our minds. It’s absolutely perfect, so kudos to The Rooster for his brilliant design and implementation. The only bummer is that GSW paints list their color names near the bottom of the bottle, so we’ll have to be smart and ensure we sort that section alphabetically. Oh well, a small price to pay for an otherwise perfect setup.
Next up, we’re trying a Cital Contrast Paint Bottle holder. We just did our first 3D print test earlier this week, so more to come on that experiment.
Until next time!
advertisement
sponsored