advertisement
15 May 2024
It’s been a blast to share another detailed, step-by-step Dungeon Ruins paint guide with you! Like our Village Inn Interior Paint Guide, we wanted to offer a streamlined version that can be easily read if you just need to remind yourself about a step or specific paint to use. So, without further adieu!
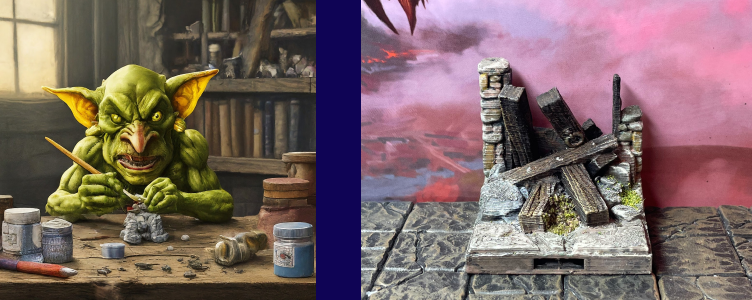
You can paint any Milestone Heroes (or comparable maker) Dungeon Ruins tile in just 10 easy steps. Click on each step title below to get a very detailed play-by-play of it, or scroll through the abbreviated version here. You’ll be able to spin up a DnD-damaged dungeon in no time!
These steps are designed around a novice 3D RPG hobbyist because that’s where many of us are in our own skill levels. So, rest easy – you got this!

We start with our inspiration and the gamer that deserves all the credit: YouTube’s Zorpazorp. He published an exceptional video called the “Ultimate Stone Painting Guide.” Jump to the “Dungeon Grime” portion of his video and enjoy. We just added our spin to his core paint plan. Between his great video and our detailed steps below, you’ll have everything you need.
Step 1: Print and Prime
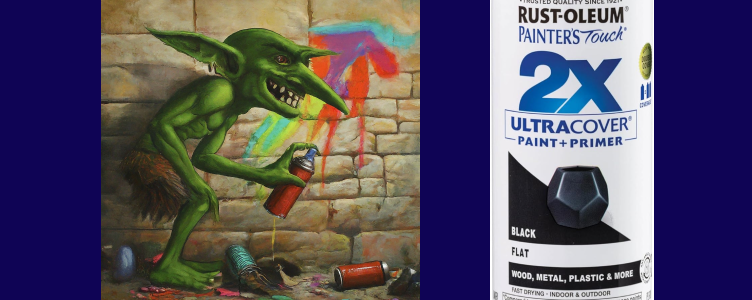
To kick things off, you will want to print a lot of your dungeon tiles ahead of time so that you can assembly-line your work to ensure you’re optimizing your valuable hobby time. Then, you will prime all your 3D-printed tiles in black. Rust-Oleum Painters Touch Flat works great – just make sure it’s the flat primer so that the paint really holds to it.
Step 2: Neutral Tan Undertoning Overbrush
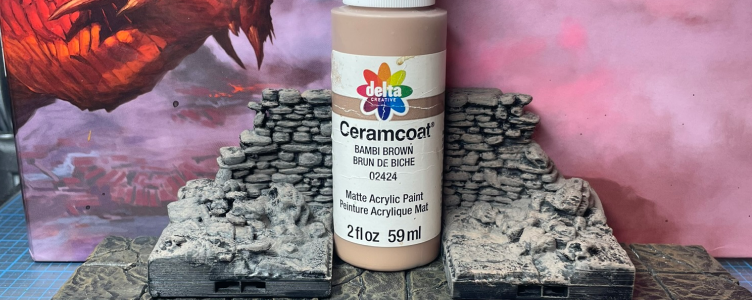
Ceramcoat Bambi Brown should be wet brushed over the entire model.
Step 3: Spot Brickwork Coloring
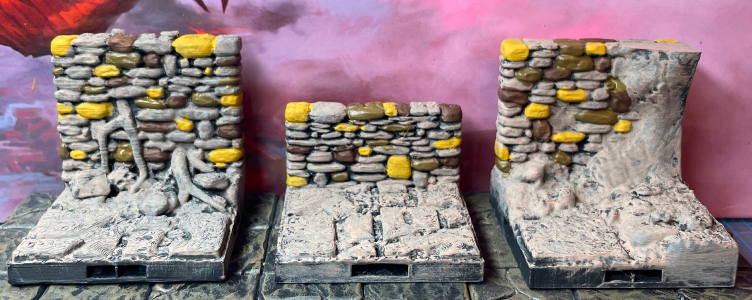
We picked three different brick colors here, but you could certainly use less or a single, non-patterned brick color. It’s cool to see the slightly different brick colors complement one another in the end product. We use Pokorny Paints Earth Stone, Americana’s Burnt Umber, and Yellow Ochre (any brand is fine).
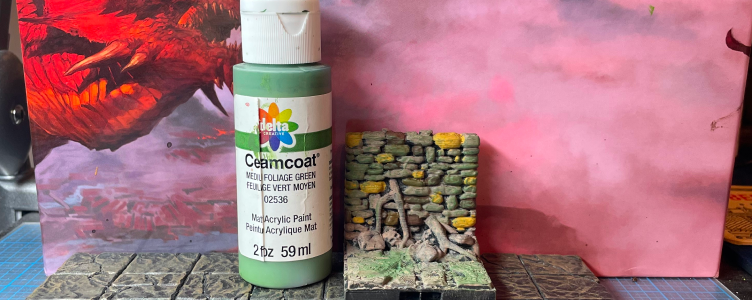
Step 4: Moss Layering
We need to really sell the weathered look, and adding a mossy undertone is perfect. For this, we apply an uneven brush throughout. This means that in some cases, you will apply the Ceramcoat Foliage Green heavier in one spot, lighter in another, or skip a tile or two entirely.
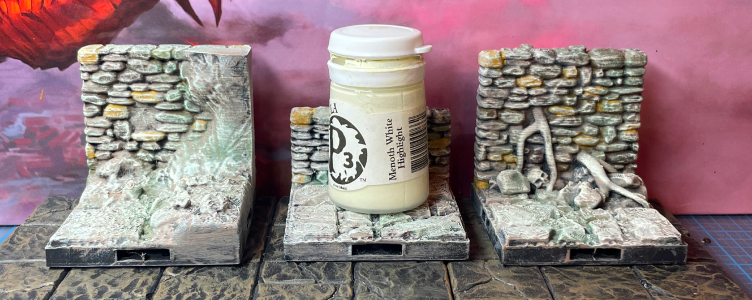
Step 5: Bright Bone Blend Drybrush
This off-white will be applied liberally throughout, and honestly, it will spook you at first. However, trust in the process. We’re ultimately going to be applying a blackwash and matte finish, and those really darken things up. We’ve always loved this P3 Menoth White Highlight, but any off-white color will do here.
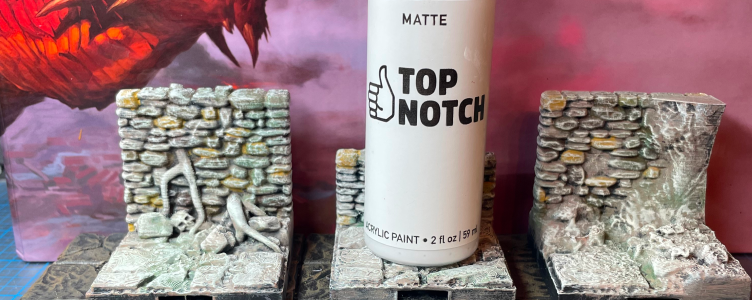
Step 6: White Soft Drybrush
There’s nothing fancy here. Hitting the edges with a white drybrush just adds to the subtle details. Apply it like you’re working a feather duster.
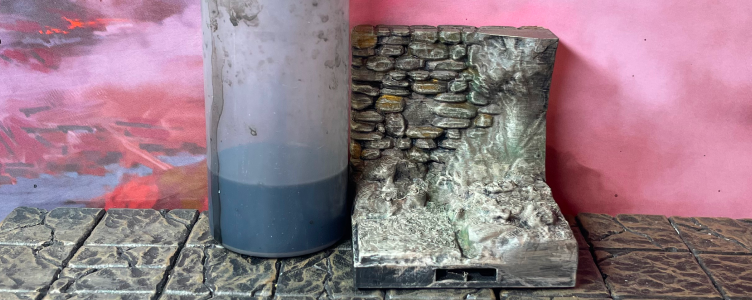
Step 7: Blackwash
Ahhh – behold the power of adding a wash to your piece. It always transforms your model into such a great end product! We use Black Magic Craft’s homemade dark wash recipe.
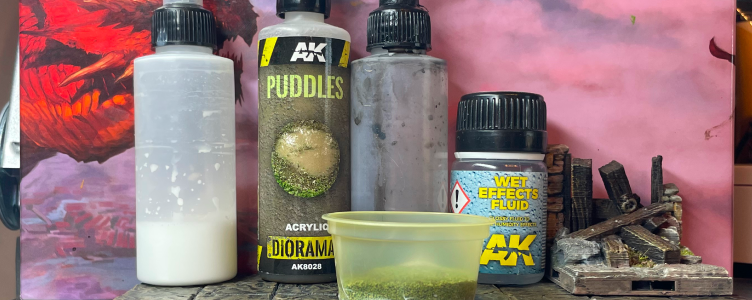
Step 8: Accents, Flock, and Puddles
The rubber really meets the road on these sorta personal touches to your scatter terrain. A little green flock (don’t go crazy), some dirty Puddles water effect, and some shimmery, wet (stone) effects will turn a good piece into a great piece!
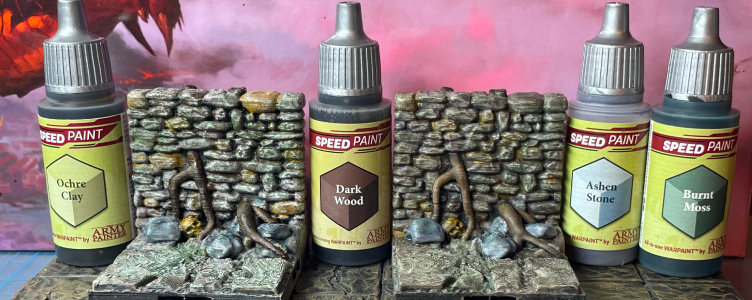
Also, be sure to go back over the subtle accents on some of the tiles. ArmyPainter Speedpaints are excellent here. You can color up the tree roots, stones, and skulls to really make things pop!
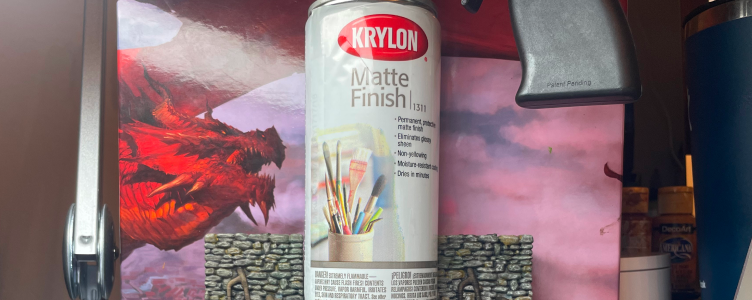
Step 9: Matte Finish
It’s time to protect your hard work with a Matte finish sealant. This protective spray will guard against the repeated tile manhandling that’s about to take place.
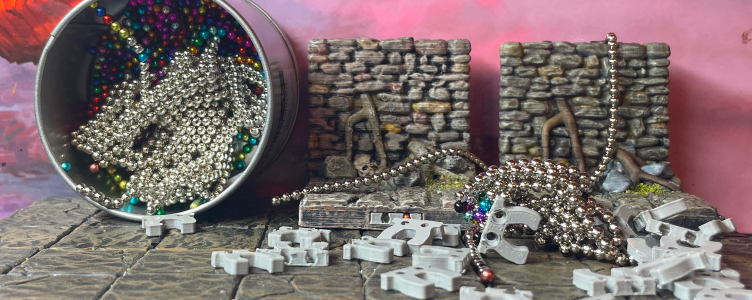
Step 10: Magnet Inserts
Now, all you need to do is insert Dragonbite-compatible connecting clips. You can use traditional clips (more budget-friendly) or magnetic clips (easier to actually use). We’re all about the magnetic clips. A pack of 1,010 3mm magnets from Magnedotz runs about $38.99 and includes free shipping.

Now let’s just recap a handy shopping list so you can grab all your supplies in one quick trip and planning sesh:
You will use everything on this list many times over, so don’t worry about wasting gaming budget dollars or buying stuff you’ll barely use.
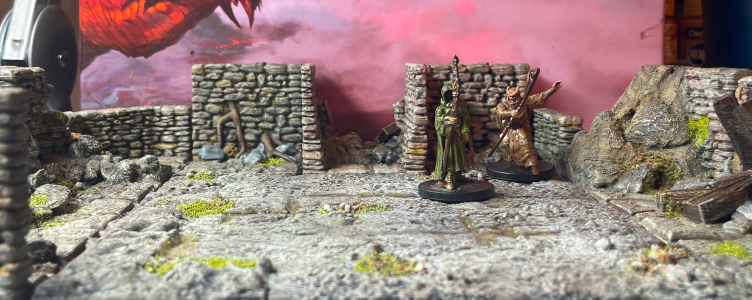
Ready to Roll
No need to be a brilliant, expert painter with cement-steady hands and perfect vision. If a novice like DM Ben can paint Dungeon Ruins, so can you!
We’ll reveal our next fun paint guide on Wednesday, June 5! Don’t miss the big reveal!
advertisement
View all results
advertisement
