advertisement
12 June 2024
The paint proof is in the planning when it comes to adding color to the gazillion 3D-printed piles of tiles surrounding our overcrowded workspace. Let’s get our Cavern steps down on “paper” so we know we’re going in the right direction!

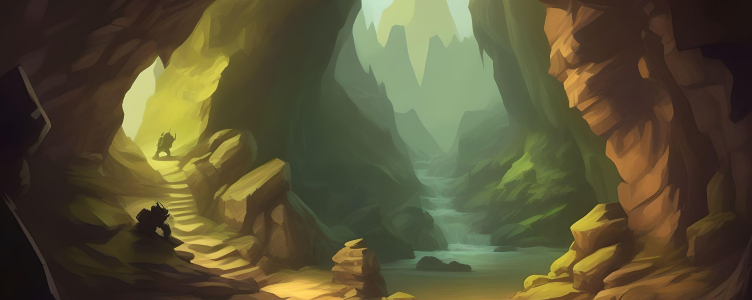
Our core goal with Caverns has always been about finding a novice paint scheme that allows us to mix all our 3D-printed tiles with prepainted Dwarven Forge tiles. Founder Stefan Pokorny just crushed it with his Cavern series, so there’s no need to reinvent the wheel here. Instead, we just need to replicate and improve upon it.
For the most part, we’re going to utilize Pokorny Paints, which are excellent paints and come in much bigger four-ounce bottles (which will save you some gold pieces in the end).
So, as usual, let’s start with getting all our steps down:
Nothing crazy, right? This DnD Cavern theme will be the most prepared you’ll ever be because you will have the Dwarven Forge Video, the Dwarven Forge PDF, and now our comprehensive accent guide to walk you through the entire paint process! You lucky, dawg, you.
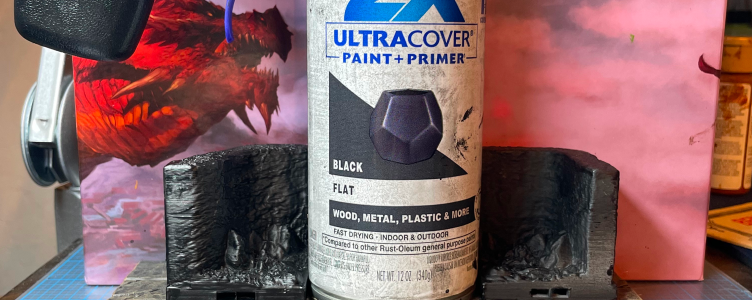
As usual, we begin by applying Rust-oleum Flat Black primer to all our 3D-printed cavern pieces. You could try a dark gray primer but we stuck with what has worked well historically.
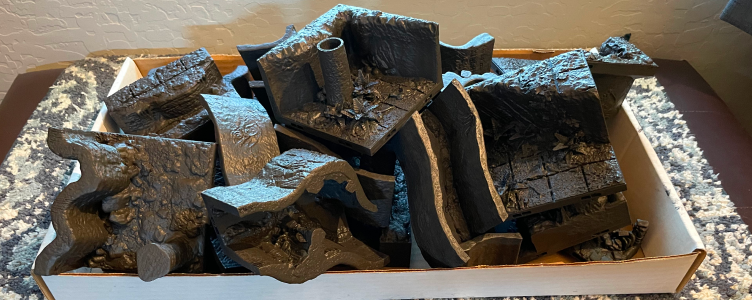
And remember, we’re all about the Ford Assembly Line model here, as efficiency means everything to us. Thus, be sure to print out a decent-sized starting pile of all the Cavern pieces you want to incorporate into your gameboard (for at least the first pass).
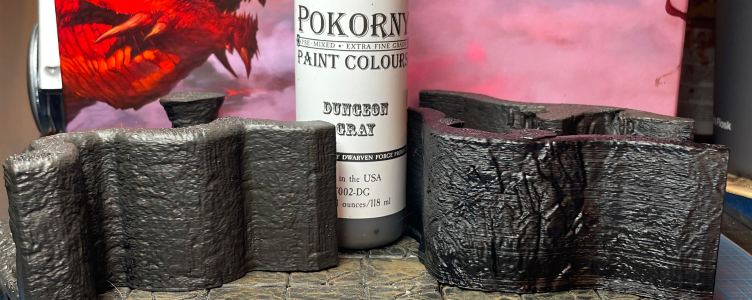
Now, in order to match your painted tiles with Dwarven Forge-prepainted tiles, this next Cavern paint step is absolutely critical. Apply a layer of Pokorny Paints Dungeon Gray to each piece. This is basically the base color all the unpainted Dwarven Forge tiles come in (if you don’t pick their prepainted option).
During testing, we inadvertently used the Base Gray color, and subsequent steps just didn’t go as well. So, to reiterate, for the love of Pelor, use Dungeon Gray.
Also, ensure your workspace is really well-lit, as it can be a bit tricky to tell the black primer (piece on the right) from the Dungeon Gray (piece on the left).
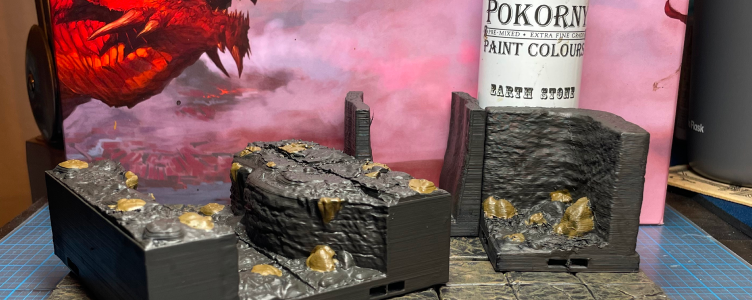
Now we’re going to use Pokorny Paints Earth Stone to highlight some random accent areas like different stones, stalactites, and stalagmites on all the various pieces. The key is to avoid any patterns. Get crazy random here. This isn’t a sexy step but trust in the process.
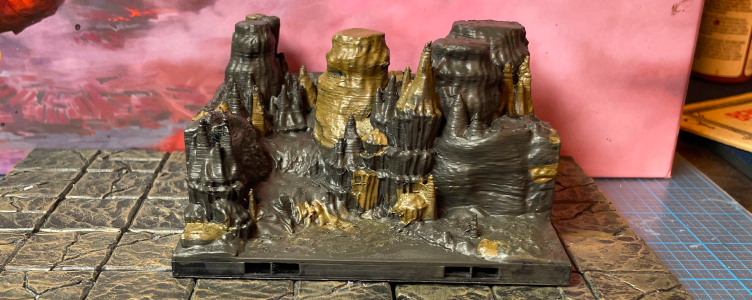
Here’s a different piece so you can see how we just did some of the stalagmites or even just a portion of them. This step really sets us up well for the core dry brushing step! Your mind will be blown when we show that depth and texture step next week!
advertisement
View all results
advertisement
