advertisement
19 June 2024
And just like that, we’re already on the third installment of the Caverns Paint Guide! Brushes up, people, brushes up!

This next dry brush step is critical to the overall look and feel of each 3D-printed cavern piece (by Milestone Heroes). Because of how important these next brush strokes are in the overall paint scheme, we will discuss this phase in a bit more detail than normal.
So, as usual, let’s check in our steps and where we’re at:
It might seem a little silly to dedicate an entire post to a single step today, but it’ll be worth the extra focus.
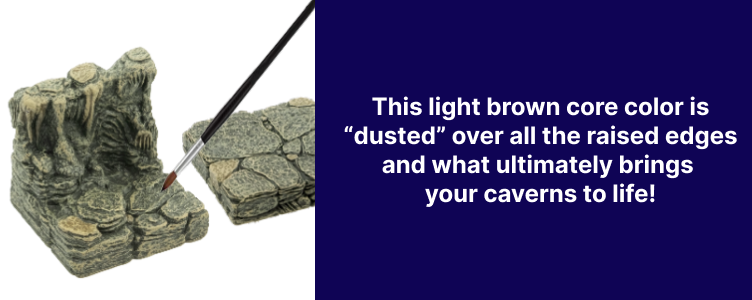
We feel this light brown step is the real key to all our 3D-printed cavern tiles. In our humble opinion, it’s the color palette “that made Dwarven Forge famous.” However, you need to be patient. Rushing this step will leave you with a lot of blotches of color – not a huge deal using the Arm’s Length rule, but still, there is no need to misstep here on purpose.
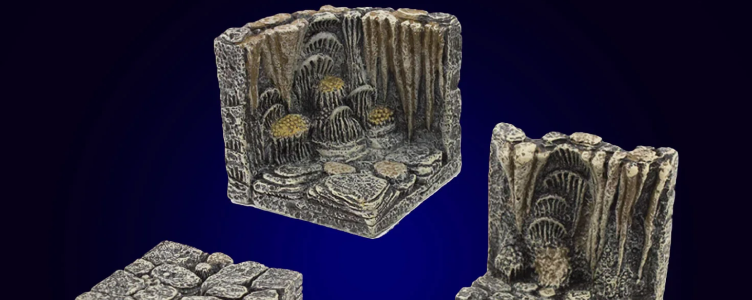
For reference, we keep many of the prepainted Dwarven Forge Caverns pieces nearby so that we can periodically put them side by side with our WIP 3D-printed pieces. Not everyone will combine their own prints with factory pieces, but we found it really helpful to compare the two as we went through these steps.
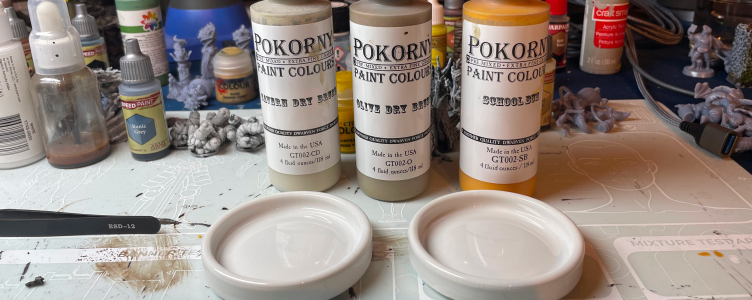
Here’s where the rubber meets the road, though, as you’re going to combine several Pokorny paints. Normally, we cringe at mixing colors together, as the fear of not being able to replicate this step consistently brings on some fear paralysis.
No worries, as this mixture step turns out to be really simple and straightforward. You’ll do a 50-50 mix of Cavern Dry Brush and Olive Dry Brush. Then, you finish it off by adding just a couple of drops of School Bus. Their video demonstrates this combo step perfectly – we’ve watched it like a hundred times. 😉
Side note: In an older, different video, Stefan Pokorny uses these cool little porcelain nesting bowls to mix his paints together. We found them on Amazon ($23-ish for a set of six) and just love ’em.
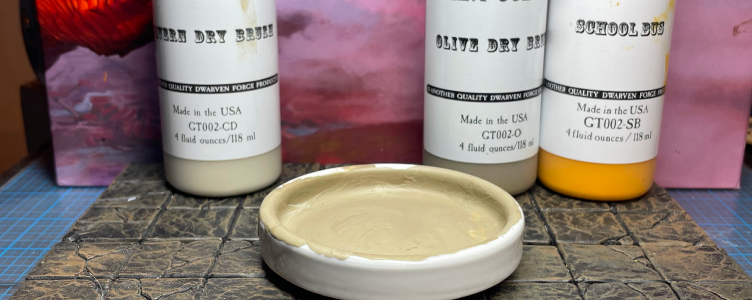
Once you mix these three paints together, they will look like a nifty light tan — exactly what we’re going for here. The Earth Stone you applied to random areas of the tile in the last step really pops after you dry brush this mixture over it.
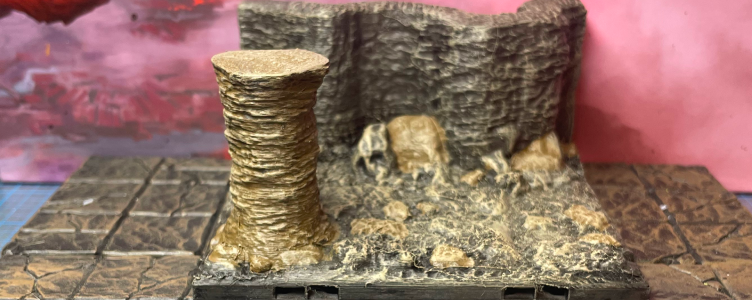
The key, though, is how you apply this paint to your 3D-printed tiles. Don’t use a large brush, and don’t hit the tiles like you’re Rocky Balboa. Use kid gloves while dry brushing this color on because you can always go back over the tiles a second time.
You can see that the back wall in the picture above (sorry, it’s not clearer) still has too much of the first layer of the dark Dungeon Gray base coat showing through it. That’s okay; it just means we went a little too light/soft while applying our light tan dry brush over it. We’ll just make another feather-duster motion dry brush pass over it so the colors blend a bit better.
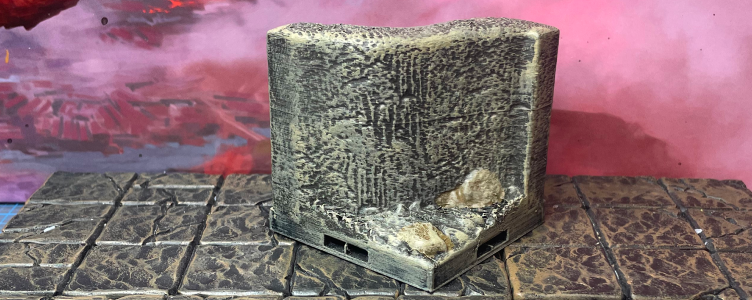
In this piece, we did a much better job applying our dry brush color. Some of that base layer Dungeon Gray shows through but just hints of it here and there. And even still, the floor on this one is a tad too dark, so we’ll probably give that a few extra pokes of the light tan.
Stefan also gives you a couple of optional colors to go back over and very lightly dry brush with, in the event your tiles are too bright (add a little Cardboard to them) and/or you want to tone it down (add a little Base Gray to them).
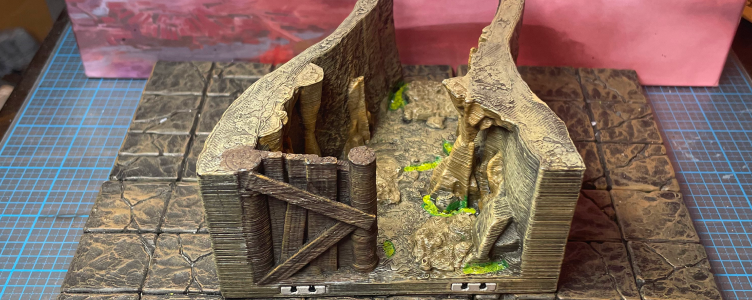
Here’s a quick look at a previously finished piece to remind us what we’re shooting for overall. Don’t hesitate to compare your WIP pieces to your completed pieces. It’s always wise to keep your motivation in clear view on your workspace.
Again, this step might require some extra patience and practice. The key is to start with a lighter dry brush and go back over it a couple of times (as needed) to achieve the final desired color.
More to come next week!
advertisement
View all results
advertisement
