advertisement
16 October 2025
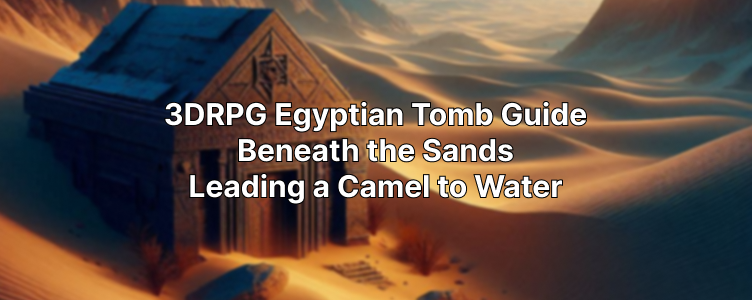
Greetings, desert dwellers! Another Thursday means more Egyptian-style goodness for your unexplored tomb, beneath the sands! Today we’ve got some more super DnD scatter terrain, but we can’t forget about some above-ground pieces too!
Just traveling to your first tomb of riches will be littered with all sorts of fun and engaging DnD encounters. Thanks to our beloved 3D printers, we’re gonna make sure DM Ben has plenty of soothing scatter options!
We want our desert travels to have that Indiana Jones vibe and include all sorts of homebrewed encounters just to locate our sunken tomb. DM Ben wants his adventurers to complete a series of mini side quests before they even breach the crypt’s entrance! In order to pull that off, he’s going to need all sorts of scatter terrain. Thank goodness we have so many talented 3D-print creators to get everything we need!
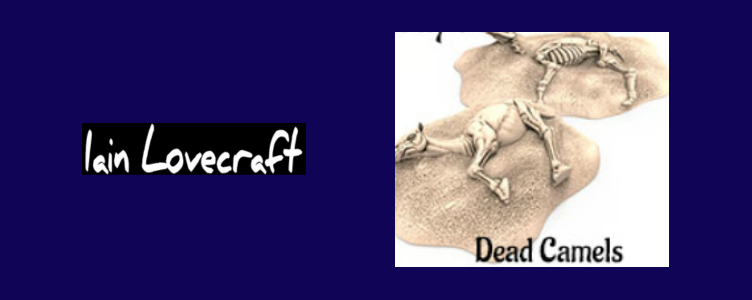
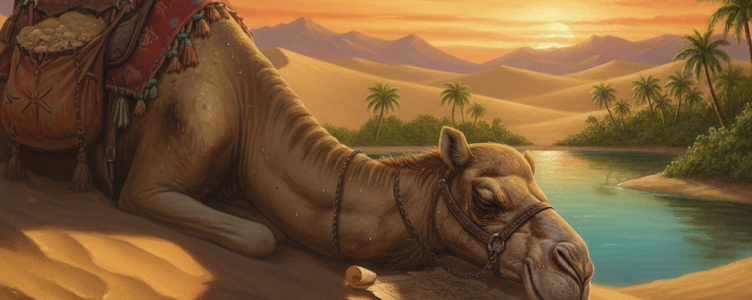
Let’s start with a fallen friend of the desert – the beleaguered camel! These poor guys get the roughest assignments and have to continually lug around thankless passengers and haul all their junk back and forth. Alas, sometimes these “ships of the desert” can only muster forward for so long before nature takes its course. Iain Lovecraft gets it and gives us two Dead Camel STLs from his must-own Desert Adventures Kickstarter.
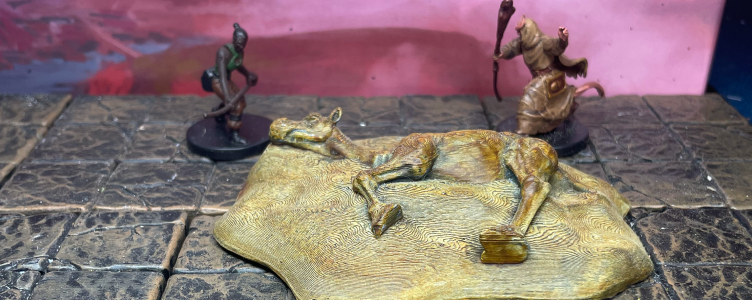
As the players move through the perilous and unknown endless wasteland, DM Ben wants to include warning signs of just how dangerous their journey through the desert will be. So, this fallen camel, half buried in the shifting sands, is absolutely perfect! This was one of our very first 3D prints. We did it on our inaugural Prusa printer (also known as Jester), and the layer lines are quite noticeable. We didn’t discover the brilliance that is adaptive layering.
The good thing is that the inadvertent print lines sort of fit with the whole sand and desert theme. A happy accident, as it were. 😉

This was also one of DM Ben’s very first paint jobs, and he was quite nervous, even attempting to color a 3D print. Thank goodness for YouTube and Army Painter Speedpaints. He just primed it flat black, applied the slapchop steps, and just put down some good ol’ Pallid Bone. These days, we’ve tried numerous paint lines, watched tons of tutorials, and experimented with several solid sand schemes.
In terms of size, this scatter piece covers a 4×4 d20 set of squares. One moment we think this STL is a little big, but then the next time we think it’s just right! Funny how that works in our DnD hobby, right?
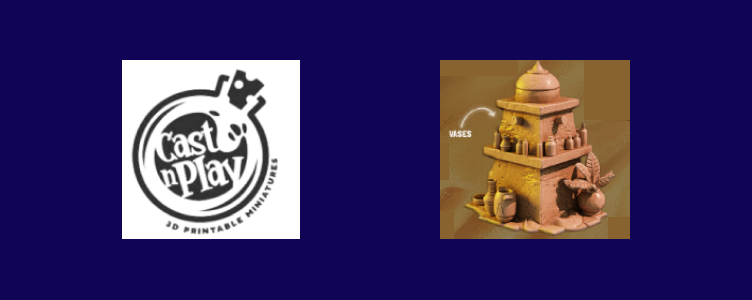
The other completed Egyptian piece we wanted to share with y’all today is this Vases scatter terrain. This charming 3D print is from their wicked good Desert Sands set. Cast n Play is the creator, but this release is under their fantastic Terrain Essentials brand. We’re always on pins and needles in terms of what’s coming in next month’s release, so we hope you take some time to explore all their wonderful releases.
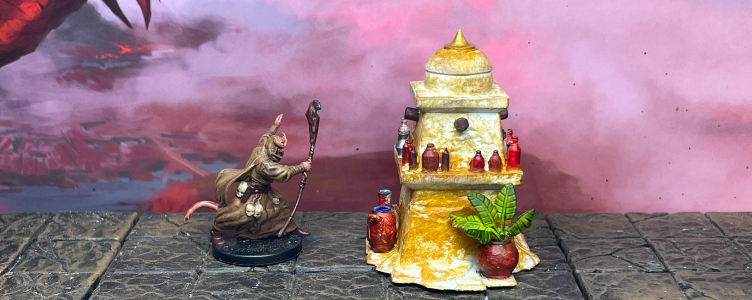
Once again, DM Ben rolled up his sleeves and grabbed a brush. He felt comfortable grabbing all the applicable paint bottles off the shelf while applying our tried-and-true sandy base scheme. The kicker is all those tiny bottles. DM Ben doesn’t have the steadiest of hands, and he misses his perfect eyesight. Still, if he makes excuses, then the unpainted pile of shame will ultimately crush him. Gotta give it the ol’ college try!
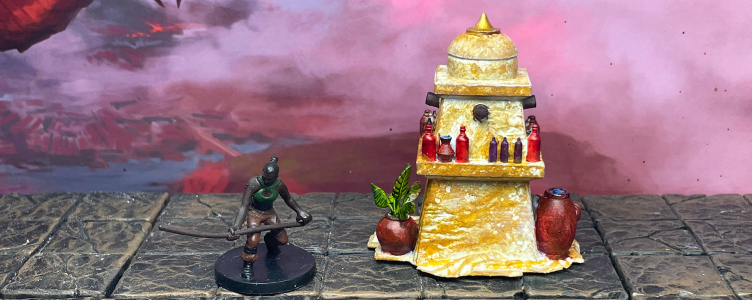
It wasn’t the small bottles as much as it was getting the backsides of those tiny elements without banging your brush against the stone surface behind them. We splocthed it several times. Easy fix, though, because all we had to do was grab some Reaper Polished Leather (the second step in our core scheme) and dab over those inadvertent paint marks. Worked like a charm. 🙂
Terrain Essentials pieces, in general, come with a lot of detail, which is a blessing and a curse. Thank goodness for resident painter Kimmy Utah because anytime we think a 3D print is above our coloring pay grade, she’ll happily finish it off for us.
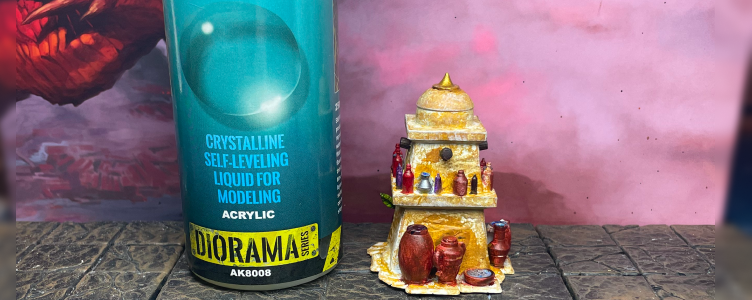
We love adding subtle touches to our 3D prints, and this water effect by AKI is one of our favs. The trick is not to get impatient and pour it too thick or too fast, although this time, we actually wanted a few bubbles in the smaller bowl. DM Ben added a blue color to the tops of some of the water vases and then poured a small amount of this liquid material on their tops. Deightful.
Until next time!
advertisement
sponsored