advertisement
19 June 2025
Hobby momentum is such a joyous thing. Getting into that DnD rhythm can be a total adrenaline rush! We’re loving where Tomb Thursdays is taking us and can’t wait to share more results with you today. Let’s dive in!
Everything starts with a repeatable and reliable paint scheme. Once we had mastered our basic steps, we wanted to explore adding some subtle brushstroke options to make our 3D-printed tiles stand out even more. We also wanted to share our starting print plan, which is another key process component that will help keep you organized.
Let’s start with some more colors! You might recall that our initial steps are pretty simple:
Now, we’re adding three optional colors to spruce up the joint! We do have a lot of tiles to paint, so the last thing you probably want to hear is that we’re adding even more steps. Never fear! We think these subtle touches are worthwhile and don’t necessarily have to be applied to every tile.

The best addition we made and plan to apply to the majority of the tiles was adding a darker tan drybrush step. The reddish-brown or tan color often seen on ancient Egyptian tomb walls was primarily due to the pigments used to create red paint. Red pigments were frequently made from ochre, a naturally occurring earth and clay material containing iron oxide.
This specific reddish-brown color was also used to depict the skin tone of Egyptian men, symbolizing their outdoor life and connection to the sun and the earth. Lastly, ancient Egyptian art adhered to strict conventions and was intentionally done to ensure uniformity. See – a little OCD has been around forever?! 😉
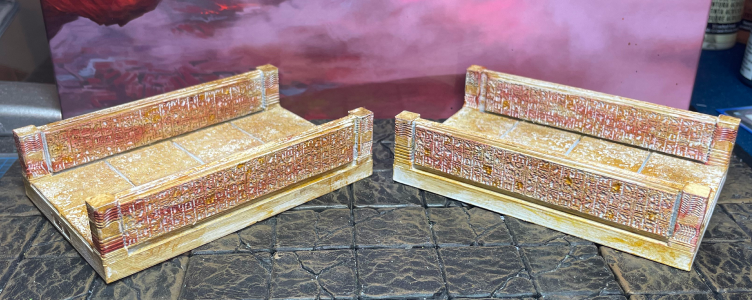
Any reddish brown color will do, but we think this Pokorny Paints Deep Lava color is perfect! This one is a staple in many Dwarven Forge terrain pieces, and you can get a big ol’ bottle for $12. See, what a difference this drybrush does to the hieroglyphics, though? Aether Studios’ Pharoah tiles seem much more immersive and on point with this additional color accent. We love it, especially using the Arm’s Length table rule!
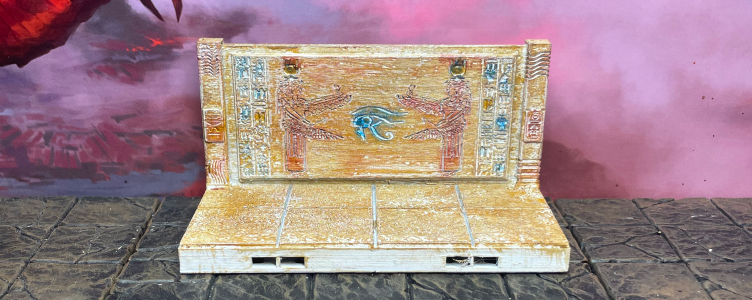
To make your 3D-printed Egyptian tiles fit for a pharaoh, you can also do some spot colors on a few symbols on any given piece. We chose Citadel Contrast Talassar Blue and Army Painter Fanatic Greedy Gold for our two primary accents.
All the images in this article are from test pieces, so please forgive a few obvious oopses here and there. For example, you can see that we inadvertently applied a little too much drybrush pressure with these two colors in a few areas, which resulted in a few smudges. Lighter brushstrokes are definitely better, and you actually want some of the white to be partially visible. Still, so good, right?!
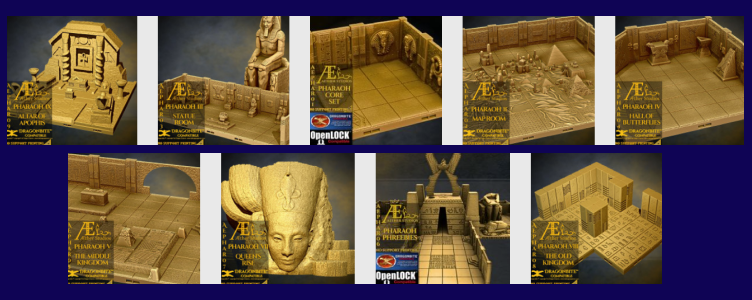
Next, let’s talk about the core Aether Studio tiles you want to focus on and 3D-print a bunch of for your oversized tomb maze gameboard. This is by no means a comprehensive list, but as veteran DnD hobby builders, these immediately stood out to us as we surveyed all their different STLs.
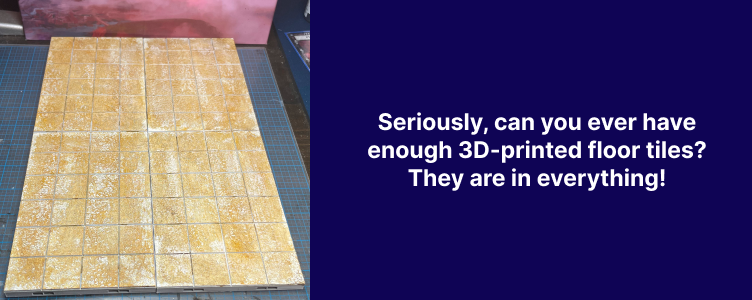
Let’s start with your workhorse: floor tiles. Thankfully, Aether Studios gets it, and they offer tomb floors in all sizes: 2×2, 4×4, 4×6, and so on. Go crazy on 3D-printing these in all their variations. Your tomb rooms come to life based on their floor dimensions. You’ll be using OpenLock magnet clips for easy assembling, but we’ll share that step later.
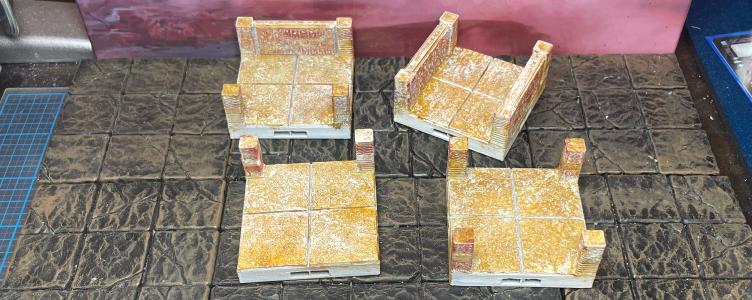
We’ve already featured hallways above, but it’s worth noting that we prefer half-height versions. They require less filament, there’s less to paint, and players can better see their miniatures while sitting at the game table.
One key connecting piece that often gets overlooked is the hallway intersection. Tombs have all sorts of unexpected twists and turns, so you’ll want to avoid a lot of long straightaways.
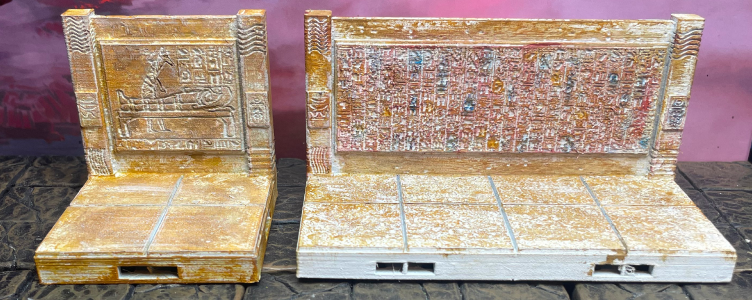
We also love these 2×4 wall-floor combo tiles, which pair nicely with the traditional 2×2’s. These will be predominantly full-height pieces for our rooms, but there are indeed some half-height options available. Don’t fret about mixing and matching half-heights with full-heights. Staggering between the two looks quite good, and we’ll certainly show you how that setup looks in future posts. Still, you’re going to need to produce a lot of these.
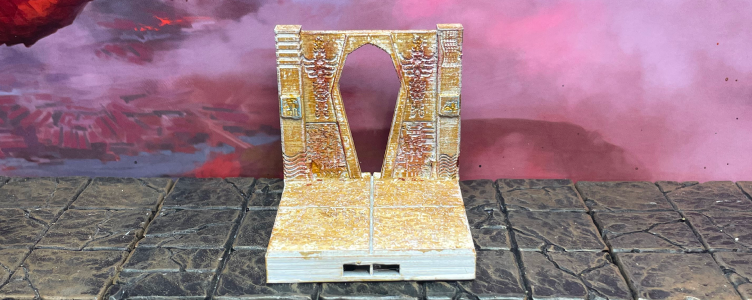
Lastly, let’s not forget about our trusty doorways! We’re still reviewing all our options, but this archway is the jewel of the Nile. It has a great deal of personality and charm…just have to figure out how to demonstrate the door being opened and closed. Of course, we’ll share more door selections in future posts.
Until next time!
advertisement
sponsored