advertisement
26 October 2023
Nothing seems to cause more angst in a hobbyist’s heart than watching their prints roll off the assembly line, only to form a growing mound of incompleteness. So, we thought we would show you how we tackle our own pile of shame here at 3DRPG.
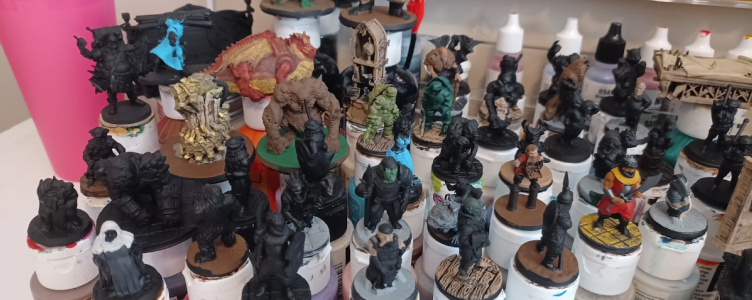
Our resident painter, Kimmy Utah, initially showed us this awesome trick. We typically send her 200+ pieces at a time to color up all nice and purdy. Efficiency is critical for her to meet deadlines and keep that pay train on the tracks.
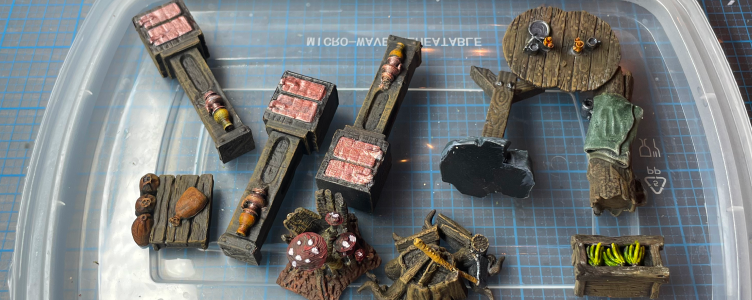
As you know, DM Ben considers himself only a novice painter so he usually holds back the bigger, simpler pieces to tackle on his own. In this example, he grabbed about 10 pieces that had a predominant wood theme (which we nabbed from a brilliant post in one of our Facebook Paint Groups).
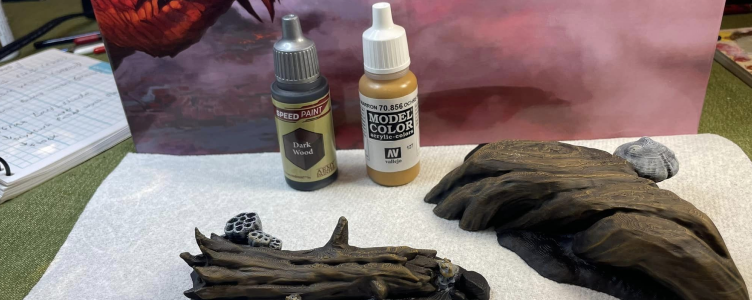
His wood scheme is nice and simple:
Thus, as our prints roll off the daily assembly line, we begin to make three piles: (1) Pro Paint Pieces, (2) DM Ben Can-do Pieces (3) On-the-Fence Pieces.
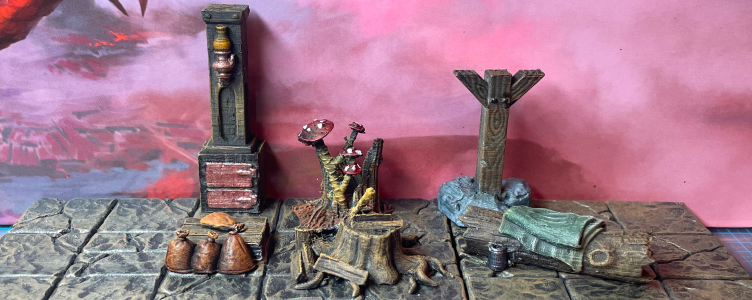
So in a weekend paint exercise, DM Ben preselected a tavern lamp post, sack scatter terrain, mine post (EC3D Designs), a campsite log & woodchop pile (Infinite Dimensions Games), and a mushroom stump (Cast n Play). See how these all utilize that nifty wood paint scheme? Apply that first color step to all the pieces.
Now keep that assembly line step going and do anything that needs a rock color. Then any portion of any piece that needs a metallic color. And so on and so on.
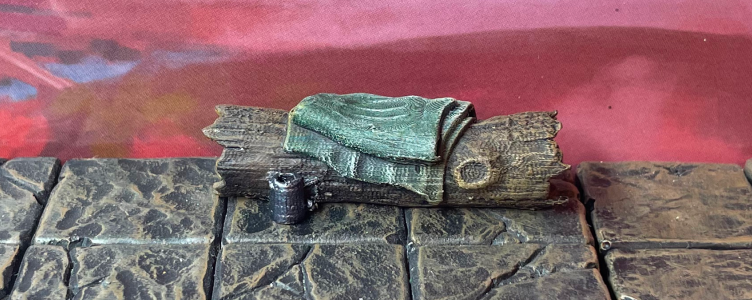
And then before you know it, you will have cranked out a whole group of new, playable pieces in no time! Now are these of the highest quality? No, but they’re playable and better utilized over sitting in a large, overflowing box in their original filament color.
DM Ben still needs to drop down some flock (which goes through this same Ford Model T assembly line approach) and finish them off with a matte finish to seal it all in place. Still, all of a sudden, his pile of shame got smaller and not bigger. Smells like…victory!
advertisement
View all results
advertisement
