advertisement
26 June 2024
ohhhhh boy – things are starting to take shape! Let’s explore Part 4 of our Caverns Paint Guide! Smocks optional.
We’re starting to get into the fun personality stage of the paint steps. All of these effects are subtle on their own but really come alive as one in the final pieces.
As usual, let’s check in on our Cavern Paint Guide steps:
So, let’s continue and see how our 3D-printed pieces are beginning to come alive!
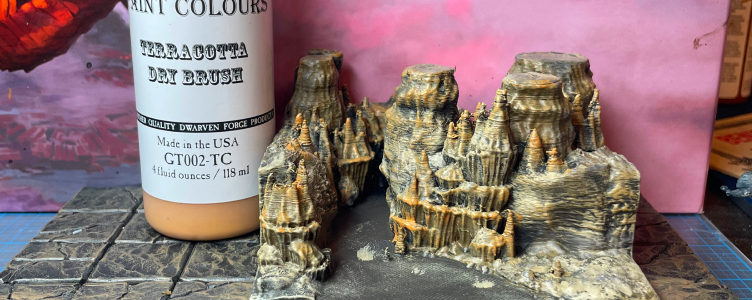
We originally had this color step as optional, but it’s too darn good. Grab a bottle of the Pokorny Paints’ Terracotta Dry Brush and dry brush it on the stalagmites and stalactites on your models. This color really makes the piece pop and creates some cool shadow effects. In fact, we even do very light dry brushes of this color sporadically over other areas of the models.
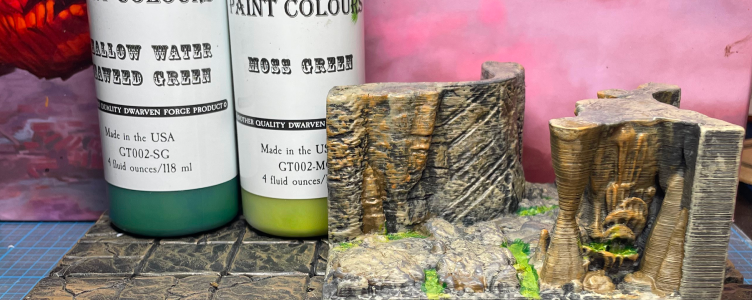
For Step 6, we’re going to create some cool water effects — because who doesn’t love water effects?! You will need two Pokorny paint colors: Shallow Water Seaweed Green and Moss Green. We want to remind you to watch the great video by Dwarven Forge, which does a great job demonstrating this two-part step.
Basically, you will apply a layer of Seawood Green in any desired cracks and crevices. We like to pick spots randomly. While that first color is still a little wet, add a bit of Moss Green to the center and blend it outward. It looks so good!
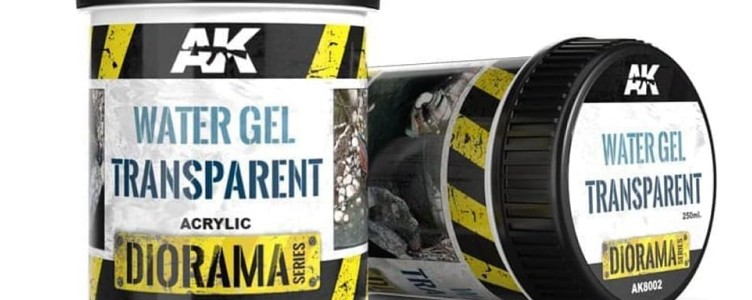
Now let’s get those new water pools wet! You can always go old school and use good ol’ nail polish but we just love this Transparent Water Gel by AKI. A small bottle (which is plenty for starters) runs for $15-ish on Amazon. We adore their texture line and use ’em all the time!
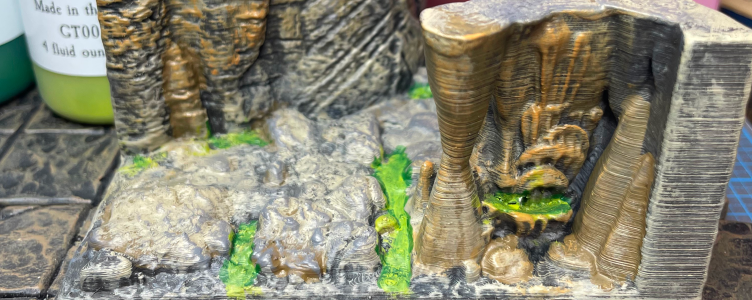
See how your beautiful 3D-printed cavern pieces by Milestone Heroes are coming alive right before your eyes! Feels like we should all do a maniacal laugh to celebrate your new-found painting skills!
Next week, we’ll expand our aqua steps and show you how to use AKI’s nifty Transparent Water Gel to create larger water areas on your cavern pieces!
advertisement
View all results
advertisement
