advertisement
7 August 2025
While our players aren’t quite there yet, DM Ben wants to stay ahead in our DnD campaign, so it means lots of feverish terrain printing and painting to ensure he brings the best gaming experience possible month in and month out. Let’s see what he’s cooking up now!
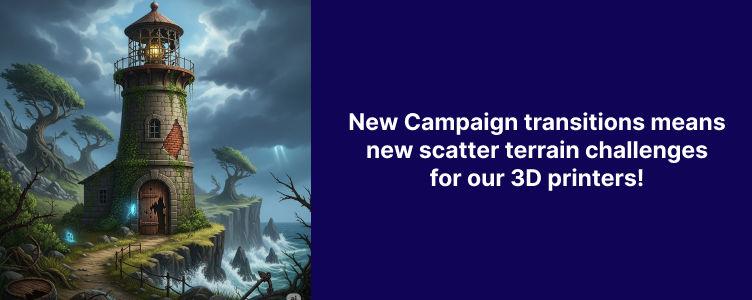
As longtime readers of 3DRPG know, we’re all in on D&D Beyond’s Acquisitions Incorporated free 5e module, and we just can’t recommend it enough. The storyline is broken into different chapters that the authors are calling episodes. DM Ben is starting his third episode prep: Episode one was The Fissure, Episode two was Fun in Phandalin, and now we’re moving our DM prep to Episode three, which is all about the Darkness at the Lighthouse.
Now, our overall campaign is much bigger because we are injecting an absolute mountain of homebrewed content like the Night Hag and The Forgotten Rails, because why not? 😉
The players’ overall goal from the module remains unchanged: the adventuring group needs to ultimately recover all the pieces of a powerful artifact called the Orrery of the Wanderer. What we love, though, are all these cool sub-missions that have to be conquered along the way. The overall story feels like one constant high-stakes chase, and it’s been such a hoot.
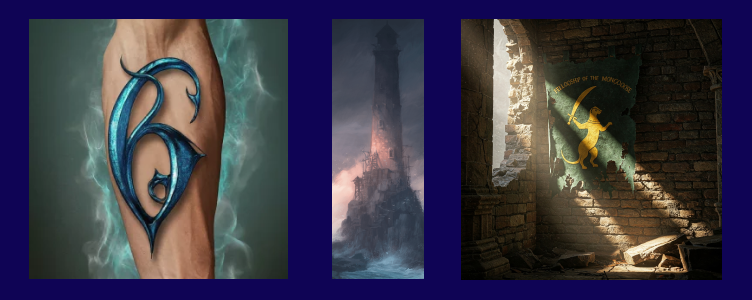
We are especially loving all the different competing factions, including The Six and The Fellowship of the Golden Mongoose. Adding homebrewed villains like The Night Hag, a traitorous Bard, and Merv the Swerve makes it seem like everyone is out to get the players. Paranoia is comedy gold.
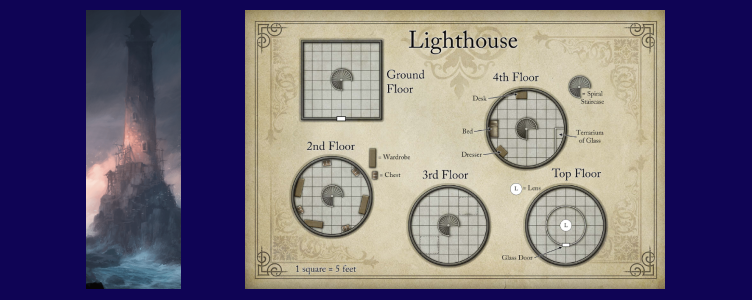
Chapter 3 moves to the city of Neverwinter off The Sword Coast and revolves around a key piece of TTRPG terrain called The Silent Sound Lighthouse. It’s a seventy-foot, crumbling structure with five floors in all. Now, there are plenty of encounters to ultimately prep before this big scene, but we haven’t made a lot of terrain like this previously, so we wanted to build it out in a non-panic way.
The players’ current intel from the successful clearout of Tresendar Manor mini-dungeon crawl told the group they need to locate a male Tiefling Paladin named Talanatha Three-Coins. He’s holding onto one of the artifact pieces, and they learned through additional town chatter that he may have fled to an amazing headquarters up the coast. Our hounds have acquired a new scent!
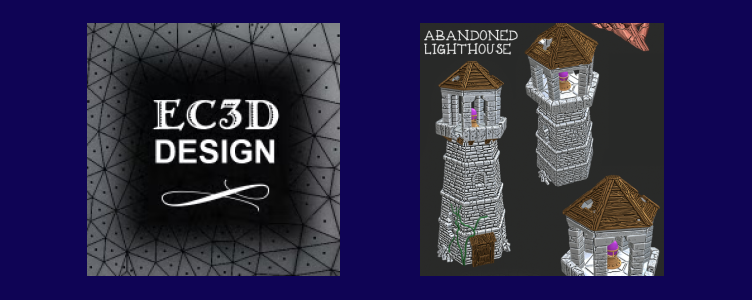
EC3D Designs somehow gives us the perfect 3D-printed terrain for our Abandoned Lighthouse thanks to their Depths of the Savage Atoll Kickstarter. Even better, you don’t even need to be a backer for this featured STL because good ol’ Evan has this one as a free download on Thingiverse.
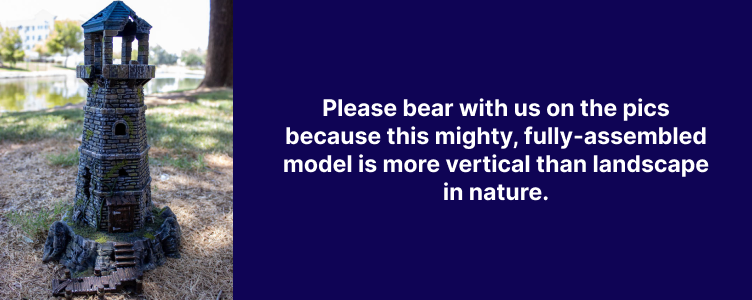
Since this 3D print doesn’t have any tiny eyeballs, DM Ben willingly accepted the paint task for the team. Plenty of stonework on this beauty, but honestly, the toughest part of the project was photographing the final piece! Naturally, this DnD lighthouse is tall and skinny, so much so, we had to actually shoot it outside of 3DRPG Studios!
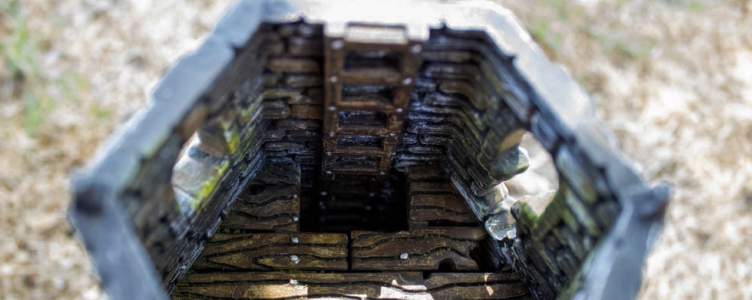
You will ultimately print out six sections, counting the roof. You will need to do some minimal gluing here, but the STL files have these connecting slots that make the assembly process a snap. We highly recommend Loctite Super Glue Gel. It’s da bomb. There’s also a ladder that extends from floor to floor, making it easy to quickly stack the pieces.
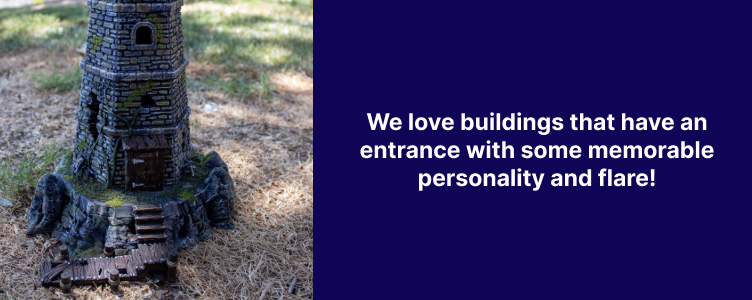
The ground floor is our favorite part of the terrain. It’s just an imposing entryway with this rickety dock leading up to a large, imposing wooden door. Our newest TTRPG building will look especially good on a Dwarven Forge Terrain Tray or DnD playmatte.
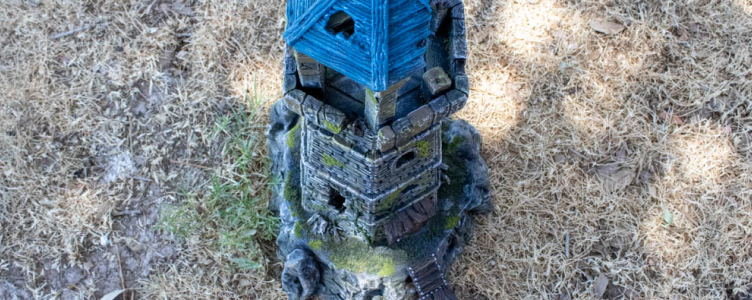
We also incorporated some rock and moss flock to effectively convey how the elements have begun to devour this eerie, abandoned lighthouse. We applied a Krylon Matte Finish to it in order to keep the flock shedding to a minimum. That sealer sometimes darkens a piece up, though, so you always have to be careful how you apply it. We weren’t as concerned here because this is meant to be a dark and dingy place.
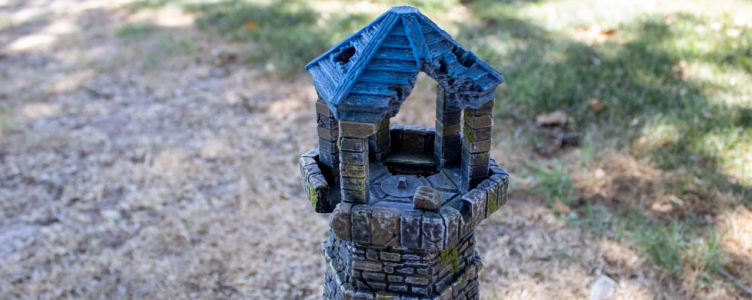
For the broken roof, we used that same blue shingle color that a social gaming pal shared with us (and was utilized on some of our Forgotten Rails Hovertrain roofs and farm structures). There’s not much to the paint process. You start with Liquitex Basics Primary Blue and then circle back with drybrushes of white and then black. Once you achieve the desired overall pigment, you just finish it off with a Black Wash.
You’ll see in those examples above that you can vary the shade of blue by going lighter on some buildings and darker on others. We liked the lighter look for this one. Sadly, there’s even a little flame pedestal for the top, but we forgot to bring it on picture day…thanks a lot, DM Ben. 😉
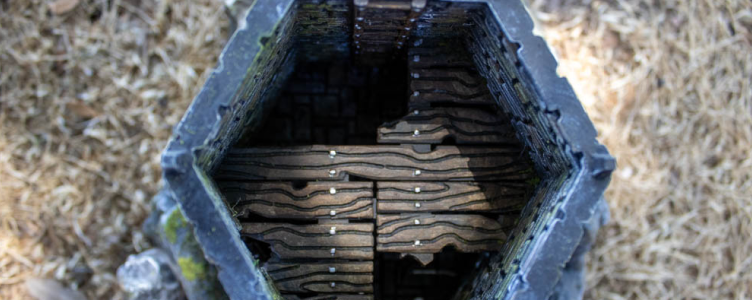
Lastly, some of you might be wondering how on earth you will actually play encounters from floor to floor in this thing? It’s pretty cramped! We never expect any of our TTRPG buildings to provide all the game space we need for our miniatures and scatter terrain accents. That would make for some pretty massive 3D prints.
Instead, we just place the DnD building on the table and then use it as a sort of map marker. In other words, we initially reveal the entire model as the group approaches it. Then we only show them the first floor while placing a Dwarven Forge Terrain Tray next to it. Doing so gives us all the game space we need. As they climb more floors, we stack more terrain pieces and more Terrain Trays on top of one another. This method is super fun and engaging for everyone at the game table!
Until next time!
advertisement
sponsored