advertisement
10 July 2024
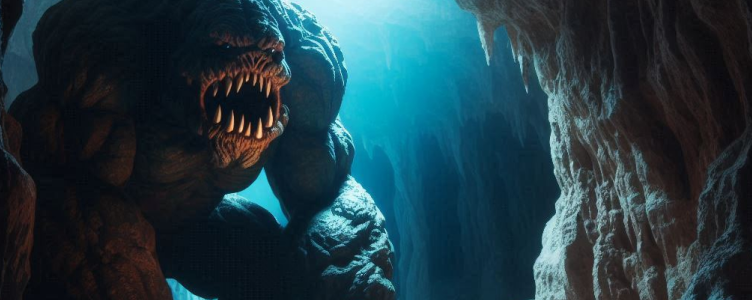
Our 3D-printed Cavern Paint Guide is nearly complete! Today we’ll show you some of our favorite personal touches to help your DnD terrain tiles really pop!

All of our terrain suggestions today are entirely optional. We thought it would be fun to show you some of our favorite tricks of the trade and the fab materials we use to make the magic happen, such as cool rock colors (by Dwarven Forge), dirty puddles, and muddy ground patches.
As usual, a quick check-in on our Cavern Paint Guide steps:
Step 9 explicitly calls out the alternate rock color, but let’s sneak in a couple more ideas!
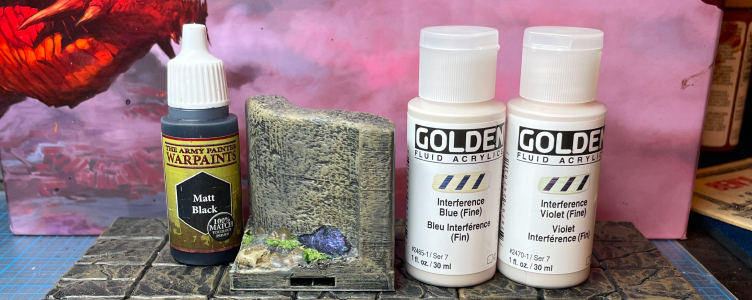
First is the crystal rock color, a staple in Dwarven Forge’s cavernous terrain. It’s just so shimmery and immediately puts your mind in underground mode. The steps on this rock formation are directly from their “Standard Cavern Paint Scheme” video, which is a must-watch.
We start by layering our desired stone(s) in Matt Black to ensure a solid base. From there, we drybrush Interference Blue and follow that up with a lighter drybrush of Interference Violet. The Interference paints aren’t cheap ($11-ish on Amazon), but their effects are darn fun to mix into your terrain elements occasionally.
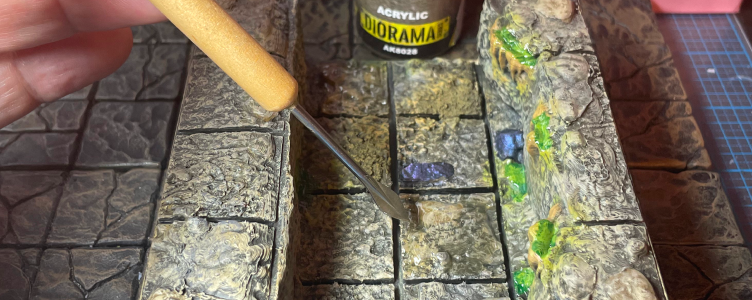
Next up is a fantastic water effects product by AKI called Puddles. You might have seen us utilize this magical bottle in our Dungeon Ruins Paint Guide. It’s reasonably priced at $12-ish for a larger bottle on Amazon. The only bummer is it’s pretty tricky to take a great picture of it on a terrain piece. Trust us, though, as we would never lead you astray. 😉
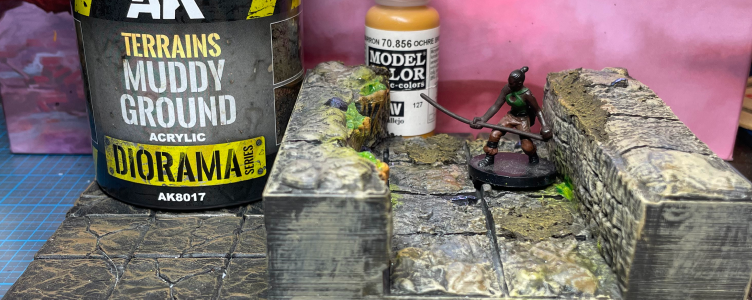
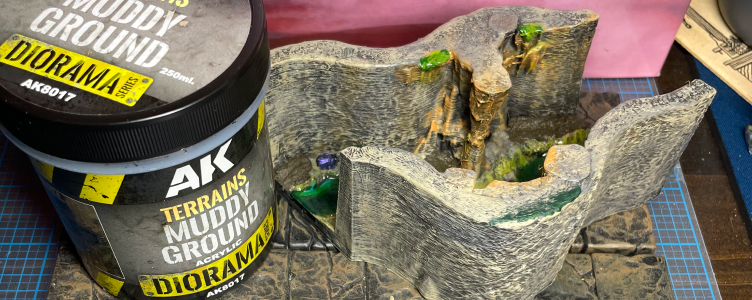
Lastly, try some of AKI’s diorama materials, like Muddy Ground. Great for mini basing but also perfect for a few simple dabs here and there on your scatter terrain. A jar will run you about $20-ish on Amazon, but it will last forever unless you’re like us and forget to close it super tight after you’re done using it (and then it turns into cement – ugh). We’ll then do a very light drybrush of Vallejo Ochre to finish off the effect.
Another great use of this diorama material is to hide some inadvertent mistakes (from previous steps). Remember in Part 5 of our Cavern Paint Guide when we applied the base color to the water portion of the tiles? Welp, somehow, we made a big ol’ smudge on the top of one of the pieces. That oops would be annoying to correct paint-wise, so instead, we just put a little Muddy Ground over it, and all was well in our DnD world again.
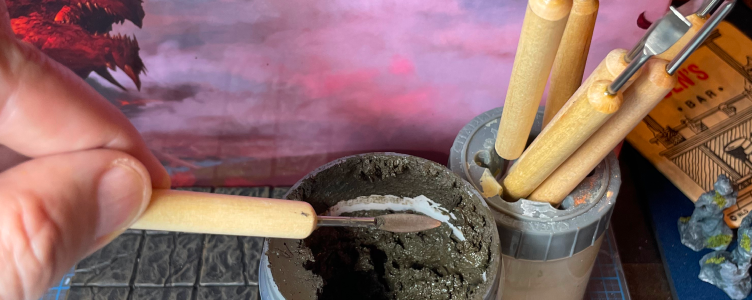
One last tip when using AKI’s great line of diorama products is to grab a pack of hobby sculpting tools (about $6 on Amazon) and use one of those to apply the material to your Milestone Heroes 3D-printed tiles. This material can be a little messy and sticky, so using these tools really saves the day (and is much easier than trying to do it with a plastic spoon or toothpick).
Next time, we’ll wrap this Cavernous Paint Guide up with the last couple of steps (like applying your wash and magnets) so you can get these fantastic Milestone Heroes 3D-printed terrain tiles into your own home DnD game ASAP!
advertisement
sponsored