advertisement
24 July 2024
We always like to include a consolidated, step-by-step version of each scatter terrain paint guide we ultimately complete here at 3DRPG Studios so that you have an easy reference sheet whenever you need to color up some new tiles from your 3D printer.
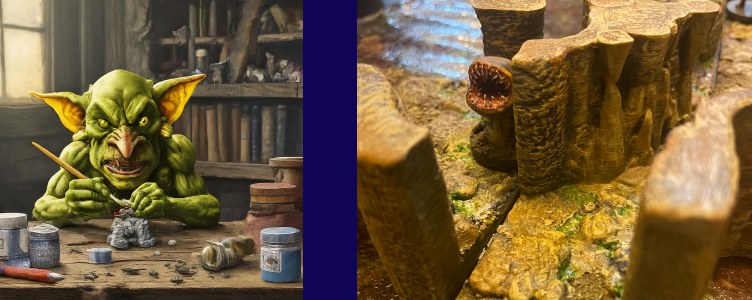
We’ll follow the same format here as we did for our Consolidated Village Inn and Dungeon Ruins paint guides. The point is to hit the highlights and give you the option to click into a specific step if you need all its helpful notes.
Our DnD terrain steps are always designed around a novice 3D RPG hobbyist because this DnD printing hobby is a lot more enjoyable for everyone if we take the time to explain certain steps better. Meaning you can just skim over the parts that have become second nature to you.
We always start with our inspiration because that’s what’s so cool about our global Internet community. We get to share ideas and just make them better and better…and even better.
Stefan Pokorny and Dwarven Forge are staples in our DnD community. They’ve included all sorts of painting tutorials (and PDFs) for their amazing terrain. We love, love their Caverns theme and decided to put our own twist on their steps while utilizing many of their great paints. Plus, you can now mix and match your 3D-printed painted tiles with your Dwarven Forge cavern collection!
Step 1: Print and Prime
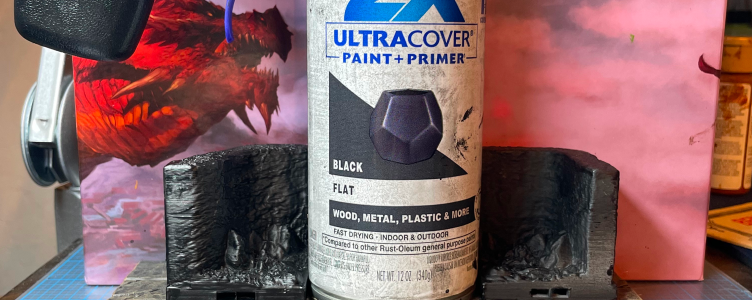
To kick things off, grab a can of Rust-Oleum Painters Touch Flat Black primer and spray away onto a large batch of cavern tiles. Seriously, guys and gals – print a bunch of Milestone Heroes underground tiles (anything from set #12, #17, #20, #31, #36, #41 & #45). out ahead of time so you can tackle this project like an efficient Tesla assembly line.
Step 2: Dungeon Gray Base Layer
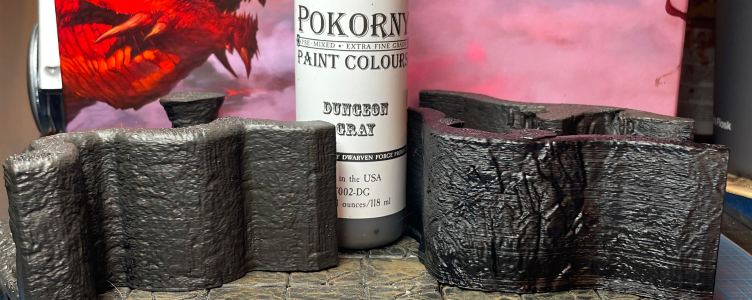
The key to matching your 3D-printed tiles to Dwarven Forge tiles is this darker base color. If you don’t use Pokorny Paint Dungeon Gray specifically, you will have a very hard time matching Stefan’s paint scheme. The terrain on the lift was covered in Dungeon Gray and the piece on the right is the original flat black primer.
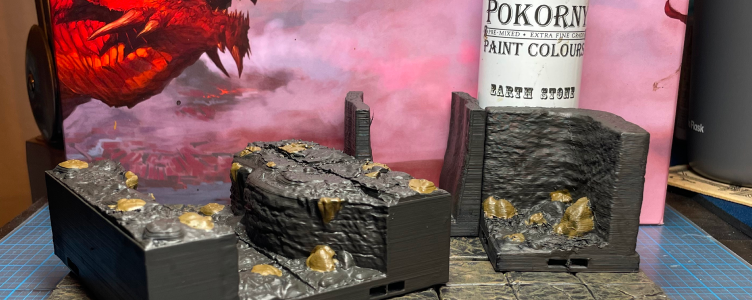
Step 3: Spot Stone Coloring
Use Pokorny Paints Earth Stone and layer it directly onto random stones and stalactites. It won’t be pretty at first, but once they’re dry brushed over, they really pop!
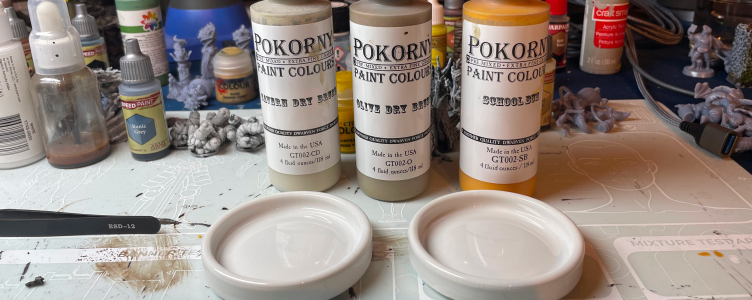
Step 4: Core Dry Brush Color
We typically cringe at paint color mixing, but this step wasn’t too complicated. You’ll do a 50-50 mix of Pokorny Paints Cavern Dry Brush and Olive Dry Brush. Then, you finish it off by adding just a couple of drops of School Bus. Stir that together, and then just do a feather dusting of each cavern tile.
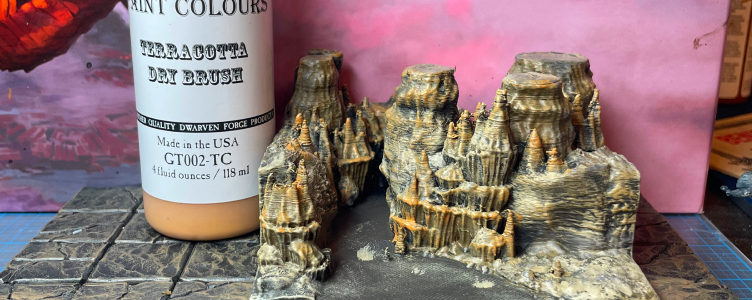
Step 5: Spot Stalactites Coloring
Once dry, go back over some of the stalactites and dry brush on Pokorny Paints Terracotta Dry Brush to some of the tips. It’s an optional color step, but we think this helps make the piece pop!
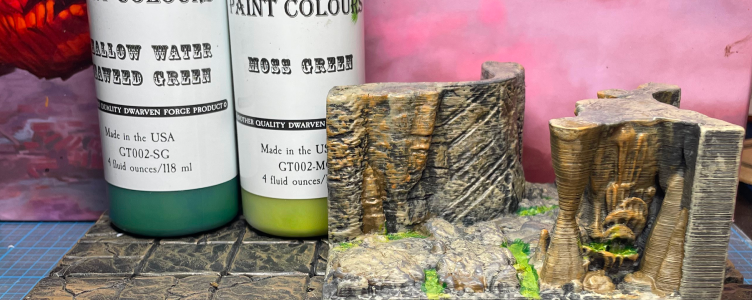
Step 6: Water Veins
Now, let’s add our smaller water effect. First layer down Pokorny Paints Shallow Water Seaweed Green. Once dry, you’ll fill some of that in with their Moss Green. Watch this great video by Dwarven Forge, which does a great job demonstrating this two-part step. Once dry, you will apply a layer of AKI’s Transparent Water Gel material.
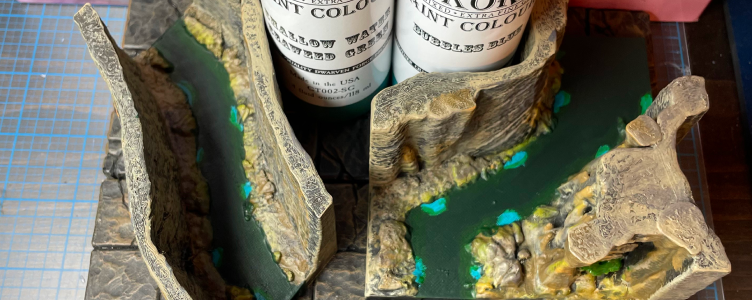
Step 6 & 7: Water Areas Moss Effect
This step is for your larger water pools. Start by applying a base foundation layer of Pokorny Paints Deep Water Green. Once dry, apply a light dry brush layer of Shallow Water Seaweed Green to the edges (to create some shallow water shadows). Then do a spotted dry brush of Moss Green along the water edges.
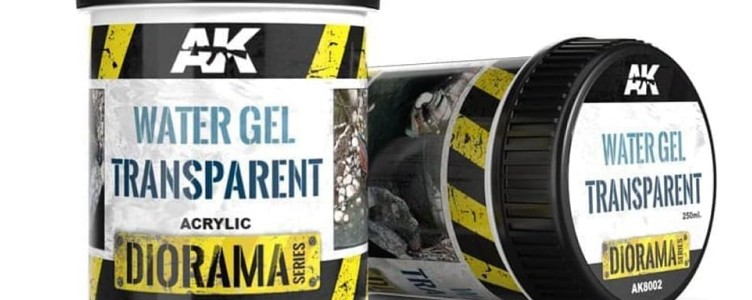
Step 8: Large Water Areas
Larger water areas get the same treatment and steps above, but we wanted to reiterate what a phenomenal product this AKI Transparent Water Gel is. You can certainly use nail polish, but the odor is a bit of a bummer. We love this AKI water material because it doesn’t crack or bubble and is so easy to apply.
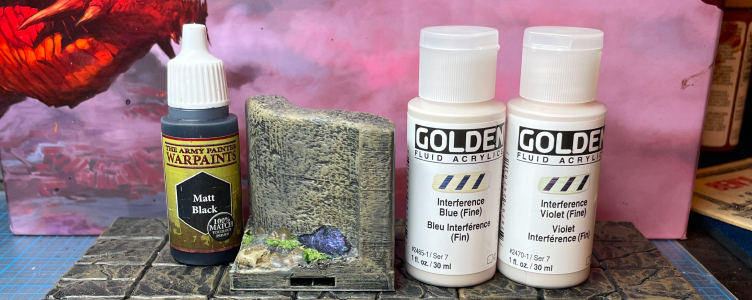
Step 9 P1: Alternate Stone Crystals
Caverns always have a smattering of unique stones and crystals, so we wanted to include a few of these here and there. Apply a layer of Matt Black over your desired stone. Then, apply a dry brush of Interference Blue, followed by an optional light spotted dry brush of Interference Violet. We’re trying to match that same Dwarven blue-ish stone look.
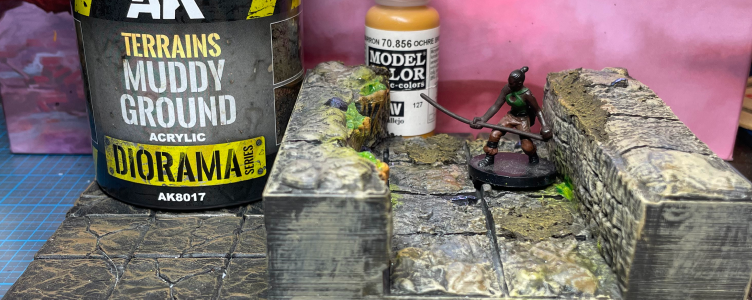
Step 9 P2: Muddy Puddles
For a little extra character, you can also apply some of AKI’s Muddy Ground (with a little Vallejo dry brush over it) as well as some of their Puddles water effects. DM Ben always seems to go a little overboard here, so use some restraint and just use them sparingly over a few tiles.
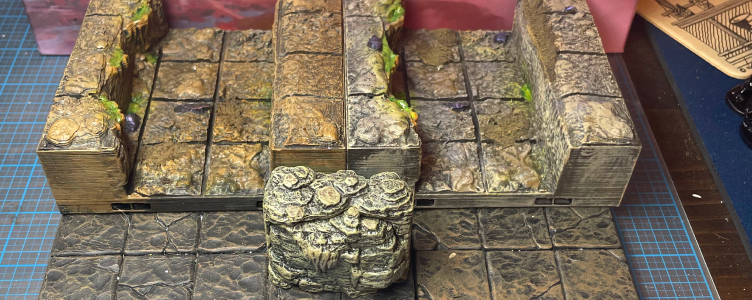
Step 10: Brown Wash
For a little extra character, you can apply a brown wash. Here at 3DRPG, we think everything is better with a wash. We use the tried-and-true mixture by Black Magic Craft. This will naturally make your cavern terrain tiles a bit darker and, thus, not a nicer match to your Dwarven Forge tiles.
To correct this, we simply go lightly back over the pieces again with the core dry brush mixture from step four (but leaving natural nooks and crannies still darker to convey shadows. Just be careful to avoid hitting any of the water-effect areas.
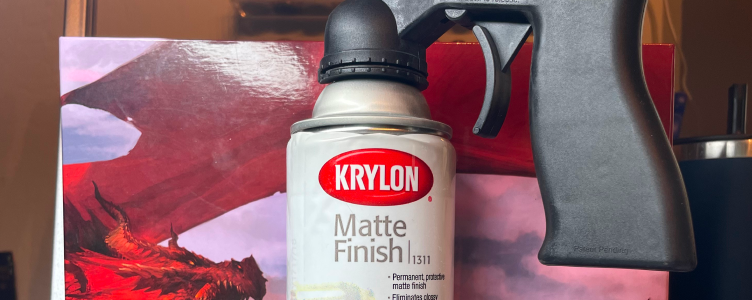
Step 11: Matte Finish
Normally, we would apply a protective layer of Krylon’s Matte Finish to all our tiles. Those oily fingers, right? However, we’re always nervous that our beautiful new pieces and their water effects might get cloudy from the spray, so we skip any aqua tiles.
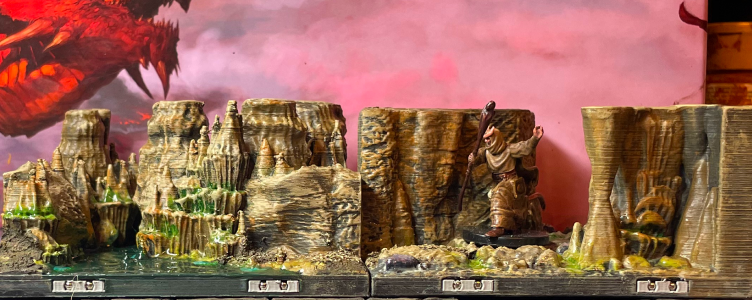
Step 12: Magnetic Insert Clips
Now, all you need to do is insert Dragonbite-compatible connecting clips. You can use traditional clips (more budget-friendly) or magnetic clips (easier to actually use). We’re all about the magnetic clips. A pack of 1,010 3mm magnets from Magnedotz runs about $38.99 and includes free shipping.

Now let’s just recap a handy shopping list so you can grab all your supplies in one quick trip and planning sesh:
You will use everything on this list many times over, so don’t worry about wasting gaming budget dollars or buying stuff you’ll barely use.
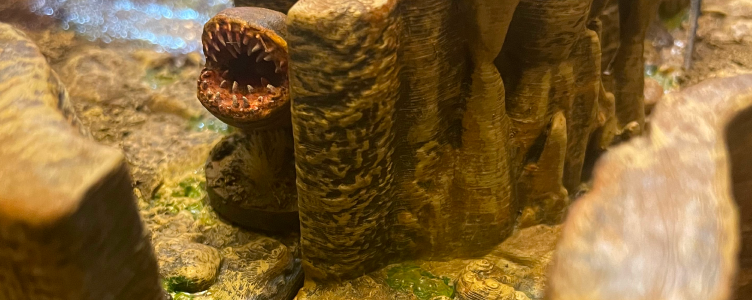
Ready to Roll
All that’s left to do is roll a stealth check and push your party rogue just a lil’ bit farther ahead of the rest of the group, right?! 😉
advertisement
View all results
advertisement
