advertisement
28 June 2024
Two paint guide posts in one week? Absolutely! Let’s transform more of our amazing 3DRPG prints into the beautiful colors they deserve!

We’re in love with our ArmyPainter Speedpaints (and Citadel Contrast Paints...and Pokorny Paints), so we thought we’d share a recent coloring job on some additional scatter terrain we decided to include in an upcoming DnD encounter.
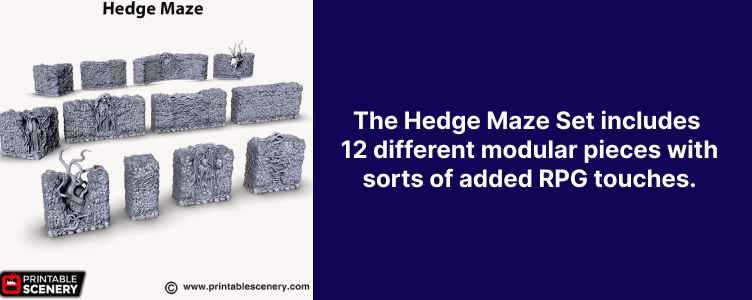
First, let’s discuss the STLs we’re using — the Hedge Maze set by Printable Scenery. For just $10, you get a complete set of modular pieces you can combine in countless ways. Many of them are double-sided; meaning they have cool details on each side, like trees, vines, statues, bones, etc.
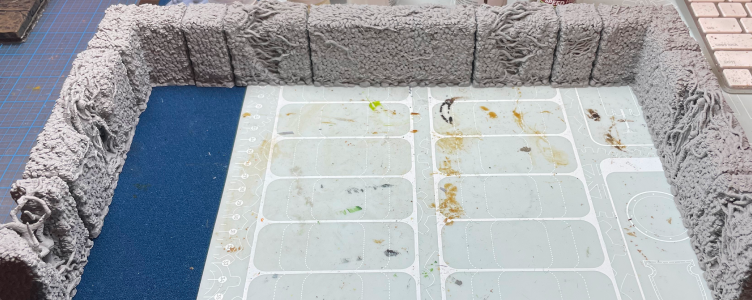
Now let’s explain how we’ll use our purdy, new scatter terrain. Our work campaign is currently focused on the players tracking down a witch who is snatching up younglings in Waterdeep. Omin Dran has offered the group the deed to her land and cabin if they can successfully evict her and eliminate the ongoing threat.
A showdown fight is brewing, and the gameboard will include a battle behind her cabin where another poor soul is being held captive in midair. DM Ben wants to enclose the backyard to her place with some thick hedges to make it a little harder for the group to access her domain (instead of just waltzing right in via the backdoor).
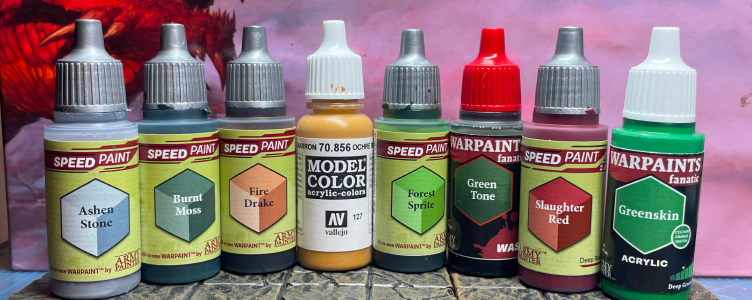
Since you’re up to speed, let’s review the paints and steps for coloring these vines! We’re using several ArmyPainter Speedpaints, a few ArmyPainter Fanatic paints, and one Vallejo color. We primed our pieces black and used slapchop for the first layer.
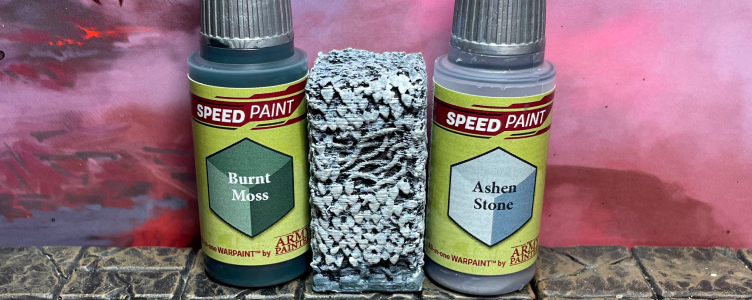
We start with the very bottom of each hedge, which is lined with an initial layer of stone. Our rock go-to ArmyPainter Speedpaint combo is to layer on Ashen Stone and dab on a little Burnt Moss while that stone layer is still wet. This same combo can also be used on any of the statue elements.
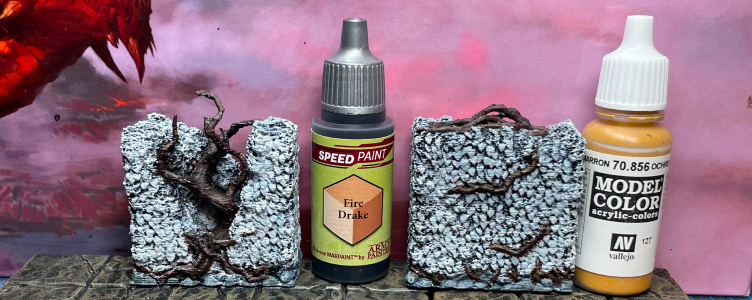
Next, we’ll tackle the vines by layering ArmyPainter Speedpaint Fire Drake and then going back over them with a dry brush of Vallejo Ocre Brown. Alternatively, you can use Dark Wood Speedpaint. Don’t feel like you have to cover every vine. It’s ok if some of them are green (or become green as you cycle through these steps).
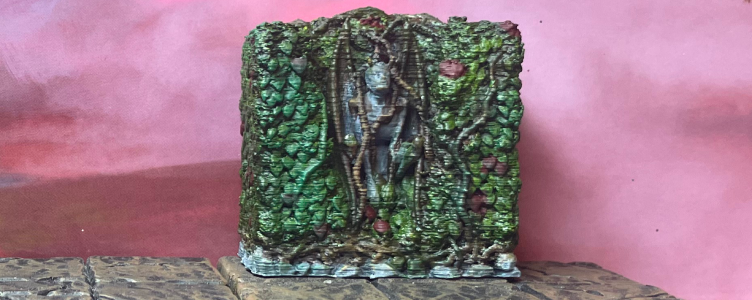
Here’s where your core color comes into play with the hedge’s main green color. ArmyPainter Speedpaint Forest Sprite is soooooo good here. It’s just the right shade of green. We layered this on, but if you prefer a heavier, wet, dry brush technique, that works too.
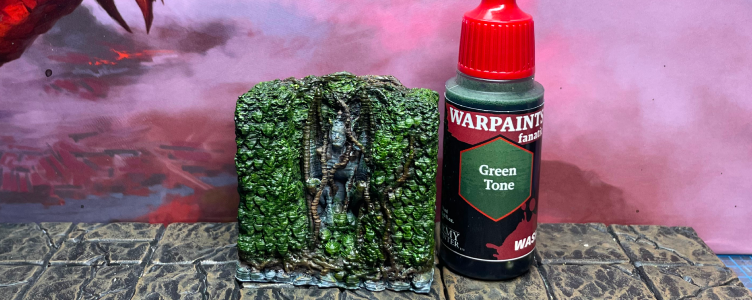
So now, even though the slapchop method helps create shadows, applying a wash helps with any inadvertent brush misses. And as we once heard a wise craftsman say, “Everything is better with a wash.” We were also really eager to try some of ArmyPainter’s new washes and this Green Tone tested great for us.
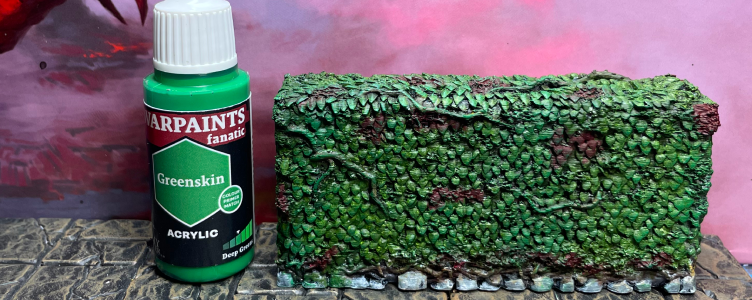
We added a lighter green to the mix to add a little foliage contrast. A sporadic dry brush (almost stippling-esque) is all you need here. This step makes it feel like the sunlight is hitting the hedge in different spots. Contrast is always your friend when it comes to painting.
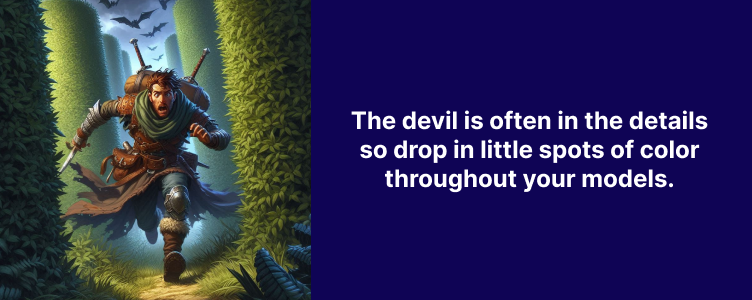
You’ll notice some plant buildup spots here and there on the model. You can use either ArmyPainter Speedpaint Slaughter Red or Pokorny Paints Regal Red to give those areas their own little look and make ’em pop against the green leaves.
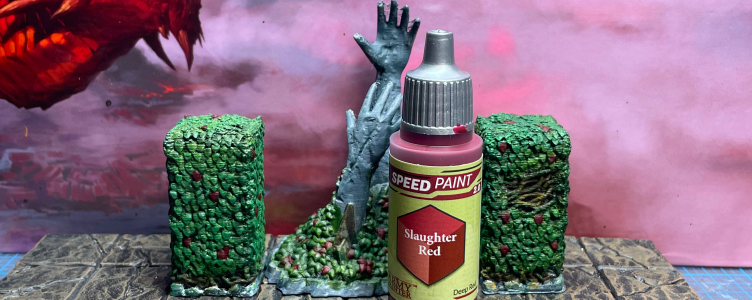
And here’s the best part! You can use these color combos in other terrain pieces that share similar elements. Meaning, every time we have a new 3D print that has rocks, we can use that same SpeedPaint combo. The same goes for staples like wood and leaves.
For example, we had these really cool Ancient Elven Ruins set from Fantastic Plants and Rocks that we wanted to incorporate into this encounter, and we already had all the paints we needed to make it come to life! Coloring those up couldn’t have been easier because we already had all our steps in hand!
Nothing to it, right?! Go ahead and give these a try. We promise you’ll be thrilled with the results. The monsters inside your newly created hedge maze, on the other hand? Well, you’re on your own with those. 😉
advertisement
View all results
advertisement
