advertisement
17 July 2024
We’ve crossed the finish line, and our latest color guide is the clear cavern terrain winner! Let’s see how these gorgeous Milestone Heroes tiles look fully painted and connected on the game table!

We have a few last odds and ends to share today, along with some fun layout photos to inspire you to forge ahead and 3D-print and paint your own Milestone Heroes Cavern tiles for your DnD campaigns!
As usual, a quick final review of all our Cavern Paint Guide steps:
Again, you could be completely done by Step 8, but our job is to inspire you with optional tips so you can add as much character to your tiles as you want.
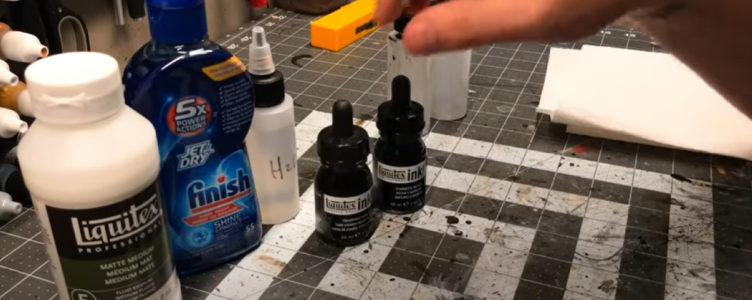
We use washes on nearly every 3D-printed thing we paint. Black Magic Craft has two easy-to-follow recipes for the most common washes: black and brown. The steps are the same for either wash mixture except for the specific acrylic ink. For the brown wash, the burnt umber ink is the core ingredient. FYI: they’ve published an updated recipe, but we haven’t tried it yet.
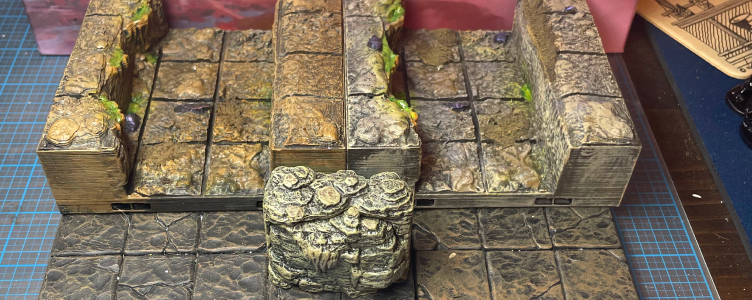
Our goal all along has been to try to match the paint scheme of the Dwarven Forge Cavern tiles to that of our 3D-printed Milestone Heroes cavern tiles. Applying this Brown Wash will create a more noticeable contrast between them, which is why we’re saying this wash step is optional.
In the image above, the tile on the left has the new brown wash applied, while the tile on the right has no wash. We also included a prepainted Dwarven Forge tile for comparison. Much darker, right? So, we even felt the brown wash was a little too strong, so we went back over it with the dry brush color from Step 4 to lighten things back up a little.
You don’t need to go crazy with this re-dry brush, though. Just a few feather dusting passes here and there will do. If you want to get fancy, leave some of the corners in that darker brown wash to convey shadows.
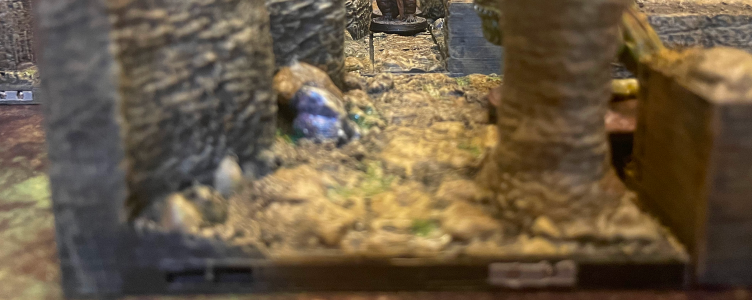
Then, we inserted the usual magnetic clips in the same fashion as our previous two paint guides: Village Inn and Dungeon Ruins. Sometimes, a tile print just won’t be perfect, and the slot for the clip will have contracted a tad, so our best advice is never to force a clip into a slot. It’s ok if you skip one clip.
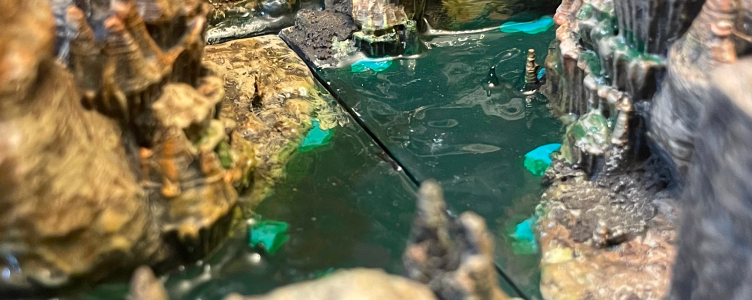
We decided to skip the Matte Finish protection step that we usually apply to all our tiles. We were concerned that the spray would cloud up or damage water effects. We could have applied some blue painter’s tape to those spots and still done this step, but it made us nervous.
Note: the pic above is insanely zoomed in. The water effects look excellent when on the table. You won’t see any issue with them when using “the arm’s length rule.”
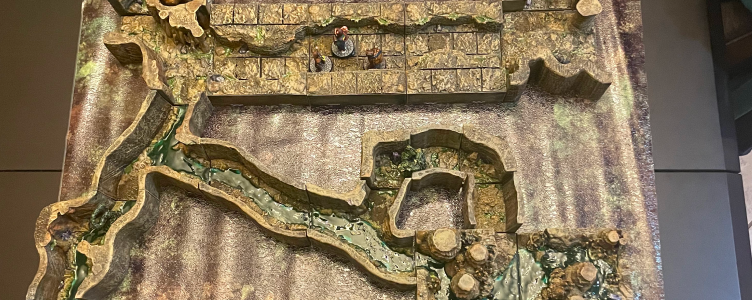
Now, all that remains is to create some sample cavern terrain layouts with these wonderfully 3D-printed tiles in all their painted glory! Due to time constraints, we didn’t do an extensive initial batch for this series, but no worries – plenty of cool posts will show off more of these beauties in the future.
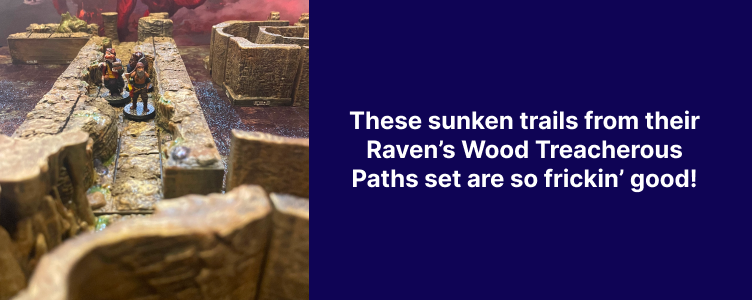
With a solid paint scheme at our fingertips, we’re circling back on Milestone Heroes’ extensive library of 3D-printed tiles and picking out our favorite pieces for future encounters. In particular, these pathways from their Raven’s Wood set (#41) warm our souls, and we definitely want more of them at our fingertips. DM Ben can use them in a traditional cavern or even a woodland outdoor setting (by simply adding some greens here and there).
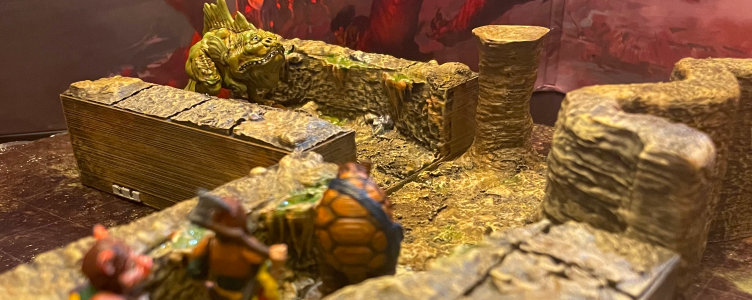
Guys and gals – we did it! That’s three core DnD environment paint guides in the books! Next week, we’ll do our consolidated guide (including the shopping list), so you always have these handy steps to refresh your memory.
advertisement
View all results
advertisement
