advertisement
27 March 2024
The final steps of our Village Inn Interior have finally arrived! Let’s discuss how to protect and connect our tiles and what option works best!
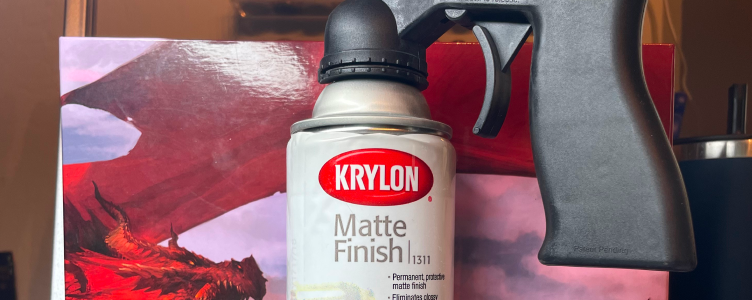
So, we have one final coverage step on our tiles: the Matte Finish. It’s not glamorous but quite important. Your tiles are going to go through the ringer in terms of storage, setup, etc., with lots of oily fingers repeatedly touching your babies.
We bought a Krylon Matte Finish Clear can at our local Walmart for about $6.50. We also highly recommend getting these spray can grip handles — your aching thumbs will be forever grateful.
Let’s review our 3D paint steps here one last time:
It’s magnet time, baby! This step has to be at the very end, though, because you don’t want to get any materials on your magnetic clips if you can help it.
Milestone Heroes (and other tile makers) utilize a rather universal clip standard often labeled “Dragonbite Compatible.” These 3D-printed clips are a mixed bag in that they will certainly connect your floor tiles together. However, disconnecting them to reuse in other scenes often becomes problematic. They can get stuck in your tiles and also can break easily. Yuck, yuck, and more yuck.
Still, at least most DnD tile creators are embracing this clip connection format. Basically, two clip formats are being used right now, and there are even adapters for each version. Before investing in a particular 3D Maker’s tiles, just be sure to research and understand the connection format for their STLs. Linking your tiles to one another is a really important step of the process.
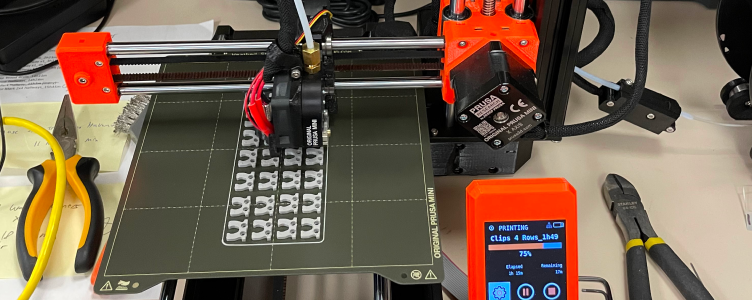
After trying the manual connection clips, we quickly switched to the universal magnetic clip version. Yes, magnetic clips are certainly more expensive, but they’re well worth the investment. You can print many of them quickly, but you will also need a lot of them. DM Ben keeps a big coffee cup full of them so they’re always within arms reach.
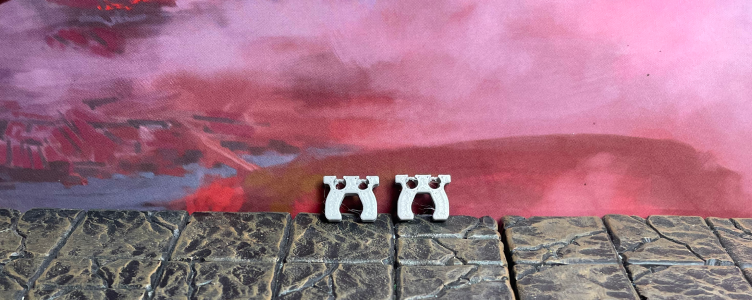
Each 3D-printed clip will contain two spots for your 3mm ball magnets. You don’t have to worry about any pole stuff here. Since they are round, that’s all taken care of because, well…science.
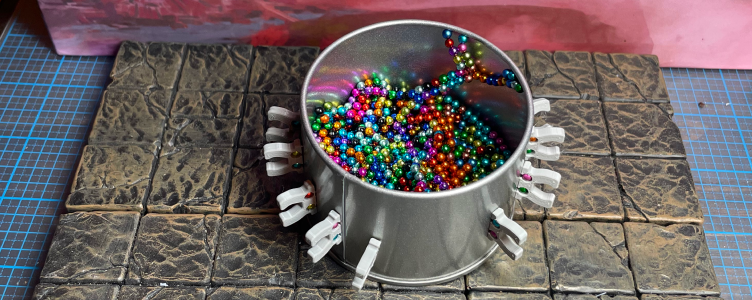
Discords are filled with people asking what specific magnet to buy and where to get it. Naturally, your first instinct will be to acquire them off Amazon, but magnet listings come and go on that site at an alarming rate. So, we consistently buy them at Magnedotz.com, as they’re usually in stock. We love the black-colored magnets, but beggars can’t be choosers here. A pack of 1,010 3mm magnets runs about $38.99 and includes free shipping.
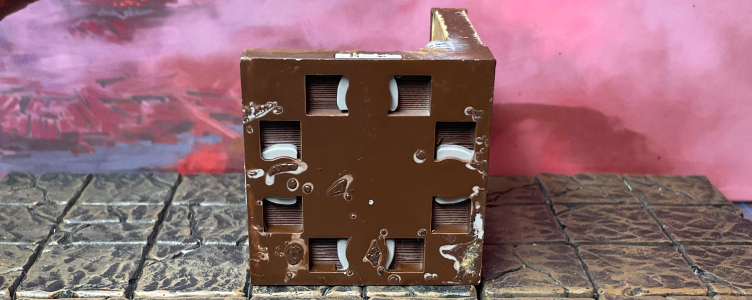
A typical terrain tile will have at least four clip inserts, so once again, we go all Ford Model T assembly line here and line up a bunch of magnet clip holders (all facing the proper direction). Then, we insert all the magnets accordingly. Our fingers are a tad sore by the end.
Do you see what we mean by needing a lot of magnets and clips? If one basic 2×2 d20 square floor tile requires four clips at two magnets each, you’ll use up that 1,010 magnet pack sooner than you think.
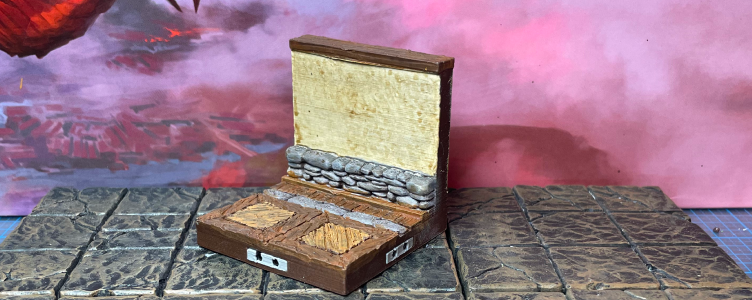
So, with eight simple, detailed steps, you can easily and confidently build your own village tavern or interior house. The team at 3D RPG hopes you enjoyed this DnD tiles paint guide, and we’re excited to release more of them in the future!
Next WIP Wednesday, we’re going to start a brand new Dungeon Grime paint guide! Stay tuned!
advertisement
View all results
advertisement
