advertisement
10 April 2024
We’re rolling into WIP Wednesday with the second installment of our Dungeon Ruins paint guide! Let’s take a closer look at Step 1: Prime and Paint.
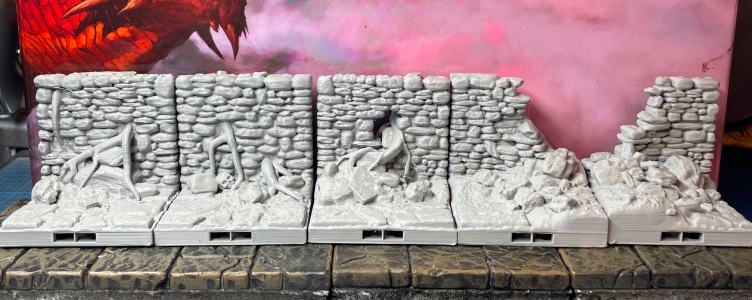
Unlike our Village Inn Interior Paint Guide, we’re not going to do a single piece and then show you all the stages of it. Instead, we’re going to do a group of 3D-printed Dungeon Ruins by Milestone Heroes because we want you to see how the colors look across multiple STLs.
We always take the classic Ford Model T approach and print out the majority of our DnD ahead of time. Then, we apply the current step to all of the tiles. The final product is a bit foggy to visualize until you complete the last step, but it’s still the most efficient way to complete a large project quickly.
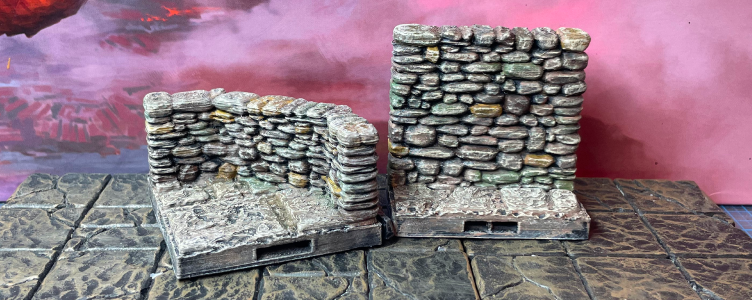
As always, let’s first look at all our steps for our crumbling Dungeon Ruins so we can see where we are in the process:
There is nothing in this guide that any novice painter can’t handle, so put your mind at ease. DM Ben is our resident guinea pig here at 3D RPG because he has older eyes and is a bumbling and stumbling painter. Thus, the saying around here is, “If ol’ Benny can do this paint job, anyone can.”
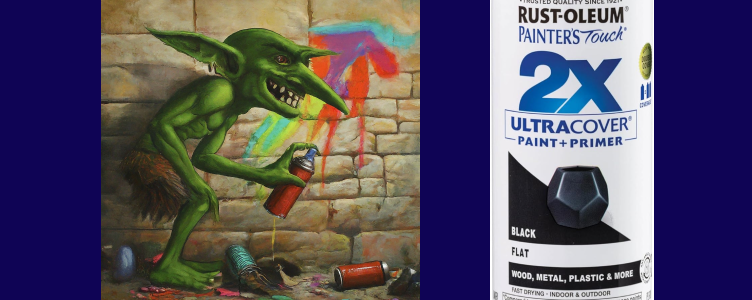
We’re using a flat black by Rust-oleum for our base coat primer. A can costs about $6, and it’s readily available at Walmart or Amazon. Even though we have several overbrush steps in this paint scheme, the black primer catches all those tiny spots and crevices we might inadvertently miss along the way. We always keep a few cans of this primer in reserve as it’s our go-to spray can.
Now, before you move to Step 2: Neutral Tan Undertoning, you can also put down a layer of Base Gray over the black primer so it feels a little more stony. For that, we used Dwarven Forge’s Base Gray color. We love their line of paints because the paint quality is exceptional, and you get a lot of value in their larger four-ounce bottles (even after the last price increase).
We’ve done our dungeon tiles both ways, and honestly, it’s a toss-up if you want to do this optional gray basecoat step. The difference is nominal, so it really depends on how fast you want to move through the paint scheme.
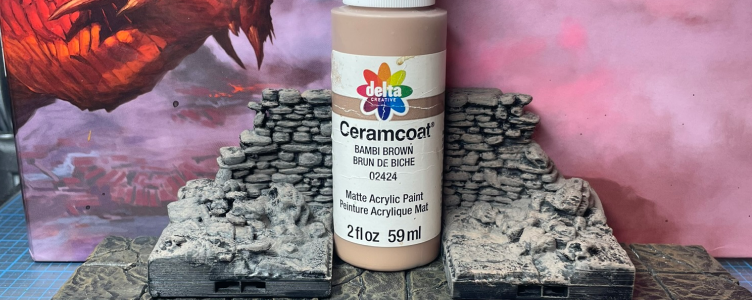
With that said, let’s move on to Step 2: Neutral Tan Undertoning. Mastermind Zorpazorp calls for any light tan color. We tried several and landed on Delta Ceramcoat’s Bambi Brown. It’s readily available off Amazon or at Joann’s. This is an overbrush step, so we wanted a cheaper paint ($1.80-ish) that we could snag easily.
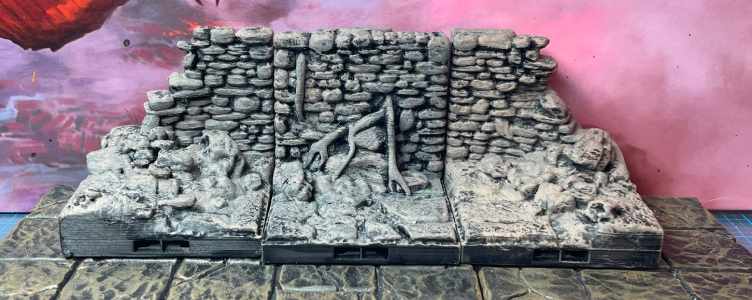
You’re applying this light tan Bambi Brown as an overbrush. And what we mean by that is to simply apply that paint a bit wetter than a typical drybrush. Typically, when drybrushing, you run your brush over a paper towel a couple of times and remove a lot of the paint. An overbrush means you leave more paint on the brush and apply the brush with a heavier, slather-ish hand (but still leaving some of the crevices in that original black and more shadowy). Zorpazorp shows off the technique in his video just perfectly.
Next week, it’s on to Step 3: Spot Brickwork Coloring!
advertisement
View all results
advertisement
