advertisement
24 April 2024
Let’s add some more coloring steps to this WIP Wednesday’s continuation of our Dungeon Ruins paint guide.

As always, first let’s briefly check in on our steps:
These next steps are pretty speedy, so we thought we would share all three of ’em today.
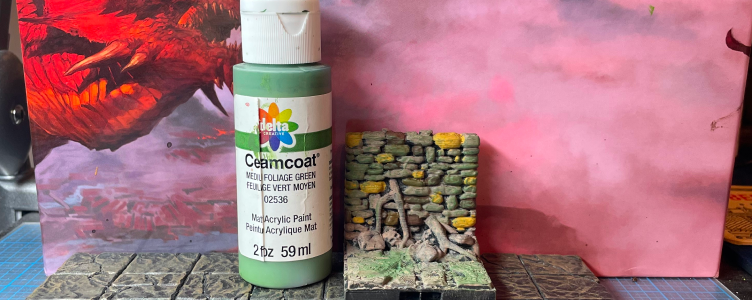
Dungeons are dark, damp, and spooky, right? That’s why we’ve got to include a moss effect on our smattering of stonework.
As good ol’ Zorpazorp explains, the objective here is to avoid any sort of pattern with this green color. You apply a wet layer to one piece, then a softer drybrush to another piece, and then skip another tile entirely. Make your brush stroke and piece selections random both in coverage size and placement (much like your fieldstone work in step 3).
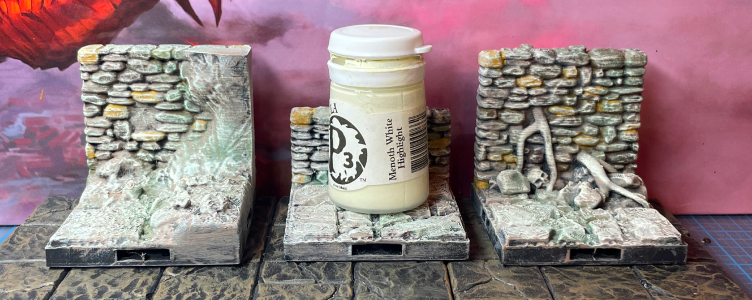
Next, apply an off-white drybrush to the Dungeon Ruins. Any sort of bright bone color will work, as you’re just trying to blend this color into the previous colors. DM Ben has always had a soft spot for P3’s Menoth White Highlight ($3.99-ish), but plenty of cheap options exist. You can really see the pieces taking shape now!
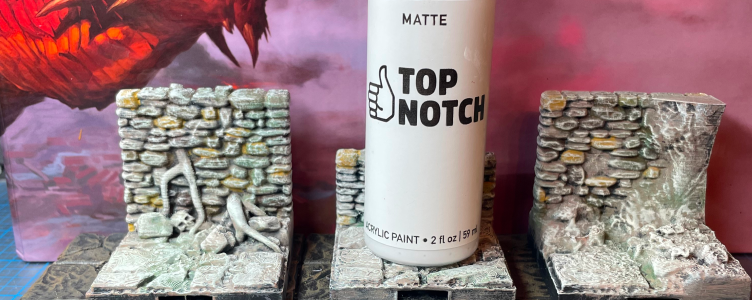
And now that just leaves Step 6 and a soft drybrush of white to just dust the edges of the tiles. Any ol’ acrylic matte white will do here, so don’t overthink this step. White is white. 😉
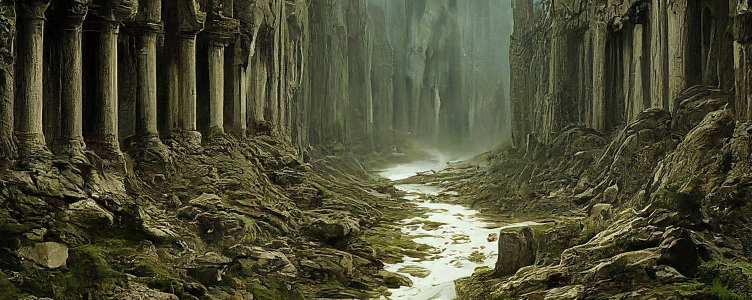
Look at us! Our core paint colors have all been applied – no fuss, no muss! With the dirty work out of the way, next week, we’ll tackle Steps 7 and 8 as we roll towards the finish line of yet another easy-to-use, friendly paint scheme for even the most novice of painters.
advertisement
View all results
advertisement
