advertisement
1 May 2024
We’re getting into super fun finishing-touches-land for this week’s continuation of our Dungeon Ruins paint guide. Let’s inject some personality into these beautiful crumbled Milestone Heroes 3D-printed bricks!
We’re pretty jazzed to show you steps seven and eight because it never ceases to amaze us how a few small touches here and there can greatly impact a terrain piece’s overall vibe, especially because we are always doing a new, large batch of terrain in an assembly line manner (in order to be as efficient as possible). However, this production method can drain even the most enthusiastic gamer and make one inadvertently fall on their “good enough” sword. Don’t stop now, guys! This is where we separate the conscripts from the knights!
Let’s do our usual steps check-in:
As always, first, let’s briefly check in on our steps:
We have some helpful pics of these two steps, so hopefully, we can inspire and dispel some of those hesitant feelings you might have to try these steps for yourselves.
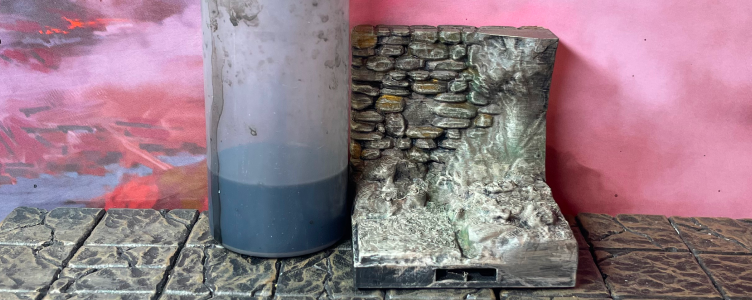
Let’s begin with an easy, tried and true step: the Blackwash. DM Ben adores any and all sorts of washes on his models. They make such a huge difference. For large-scale 3D-printed gameboards, utilizing DIY YouTube wash mixtures is a solid way to save some dollars. We like this easy mixture by Black Magic Craft. He’s apparently made a new and improved version, but we haven’t tried it yet.
ArmyPainter and Citadel have all sorts of washes, which work great for miniatures and scatter terrain, so be sure to try those out, too (especially when you are using metallic paints).
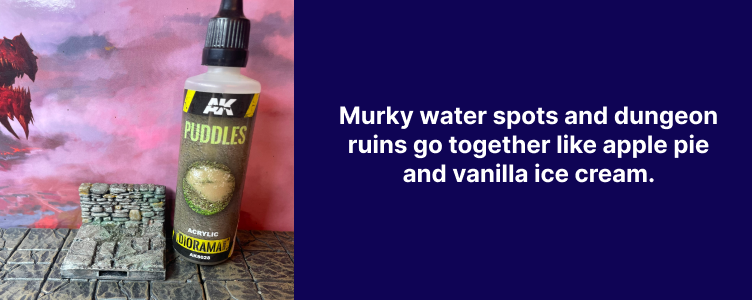
So now, let’s get a little wet and talk about adding some water effects! First, since these are dungeon ruins, it’s only natural that some of the terrain will have intermittent, dirty puddles. And for that effect, we cannot recommend AK’s Puddles product enough! One magic bottle will last a long time, and it just goes on and dries extremely well! Seriously, grab a bottle and try it out! It’s really tough to get this show this cool effect on camera properly, but hopefully, you can see the magic here (within the crevices towards the back wall).
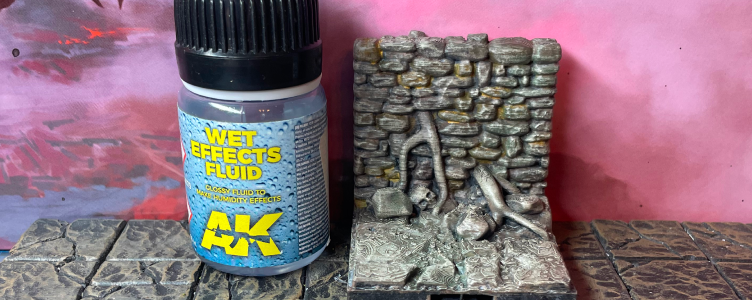
Another water works is to try is a bottle of AK’s Wet Effects Fluid. Again, it’s really tough to show this effect in a photo, but trust us, gang. We would never steer you wrong on a recommendation. Everything we show in our posts is a product we use on a regular basis for our own 3D-printed pile of shame. 😉
We just brush on little spots of this to demonstrate a slippery surface. This material also works really well for underground cavern tile sand showing condensation from stalactites (e.g., forming from the ceiling).
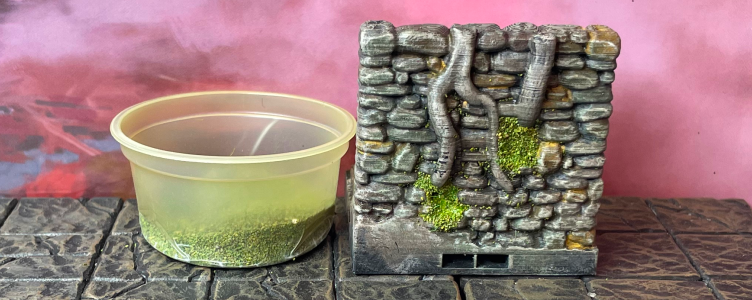
And let’s not forget the industry staple — good ol’ flock. We can’t get enough of this greenery goodness! That alluring green color can really break up a lot of connecting, dark tiles. Plus, of course, there’s going to be some moss on a bunch of random rocks! We’re just using a bottle of standard green railroad flock, and we expect the bottle we bought 12+ years ago to last us until at least 2054. 😉
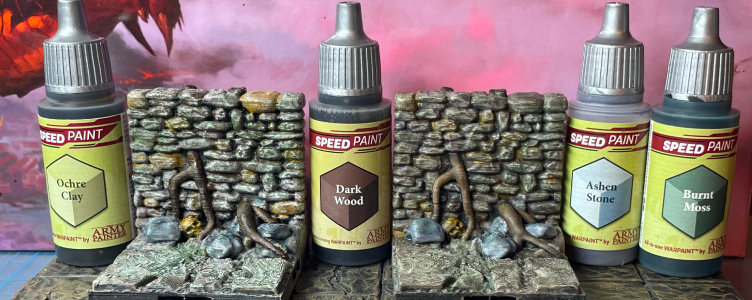
Lastly, look for those tiny details in your terrain, like roots, debris, smaller stones, and skulls. Yes, you could just paint over those with the dungeon grime paint scheme but why “run” all this way only to give up in the last 100 yards of the race? Also, do these finishing terrain accents after you applied your Blackwash step from earlier. Otherwise, these elements get too dirty and don’t pop like they should.
These little terrain details are a match made in heaven for ArmyPainter Speedpaints. We have super simple paint schemes here:
And for the Dark Wood, you can also hit that with a very light dry brush of Vallejo Ochre Brown which is our absolute wood-go-to coloring technique. Also, for any Speedpaint, we always do a heavy dry brush of white on the surface before applying the specific color so that the Speedpaint pops better.
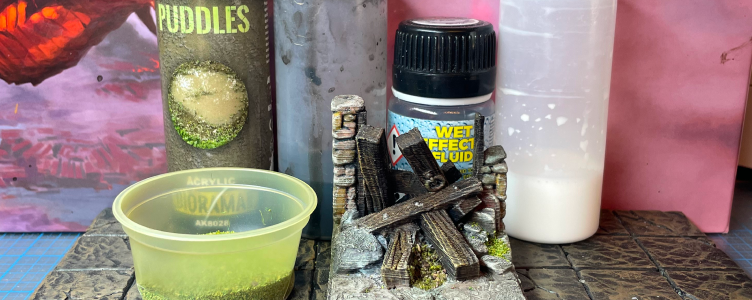
There you have it! This series of easy steps will have a tremendous impact on the final look and feel of your terrain! Again, if a novice like DM Ben can handle these, we have zero doubts they will be trouble for you. You’re going to be so pumped with the results!
Next time, we finish off our DnD Dungeon Ruins Paint Guide with the last two remaining steps!
advertisement
View all results
advertisement
