advertisement
21 February 2024
WIP Wednesday is back at it again with our second installment of the Village Inn Interior Paint Guide! Let’s take a closer look at Step 2: the wood elements!
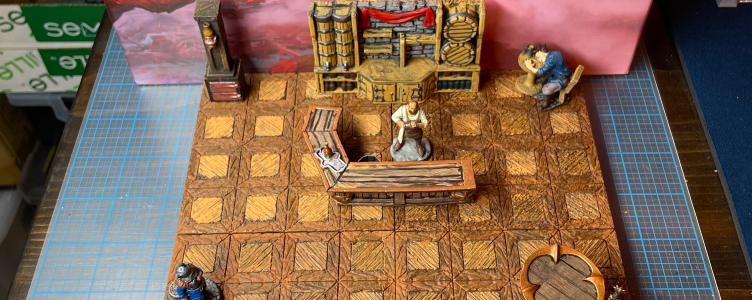
But first, let’s do a quick recap and better explain how this handy DnD Village Inn Interior Paint Guide is going to unfold. Each Wednesday, we’re going to share the next paint step in the process. Consider printing out seven wall pieces from Step 1 and join us as we work through each paint phase. We think it’ll be fun for you to try the steps each week. You’ll see this is a very inexpensive and easier way to paint up a large number of very common themed tiles.
So today we’re on Step 2 of our village inn interior painting process:
Once we get through showing you all the steps, we’ll do a final post with an abbreviated process which will include specific article links in case you need more details on a particular portion of the paint process.
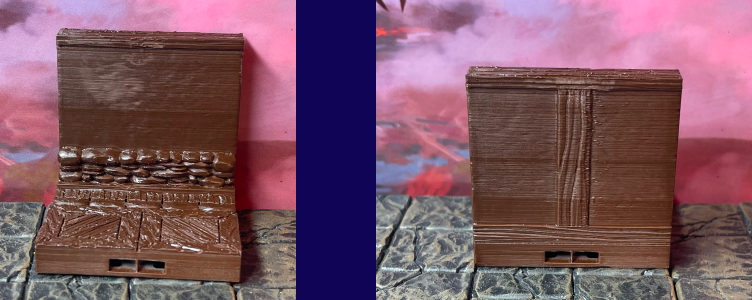
This Wood Elements step has some sections on the front, top, and back of our sample wall piece. Let’s give these elements a starting wood color. Warning: this particular paint step won’t look great initially. Don’t get down on yourself.
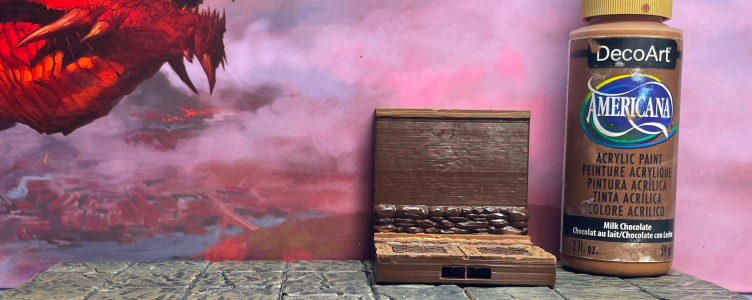
So here comes our first paint color: Milk Chocolate by Americana. This paint line and color are readily available at big box stores like Michael’s and Hobby Lobby. You could get amazing paint effects using Army Painter Speedpaints but those colors aren’t cheap. We’re talking $4.25 vs $.99 (which is a much bigger bottle too btw). Since you are likely going to print several hundred Milestone Heroes tiles, you want an affordable paint that delivers a great final product but is also cost effective.
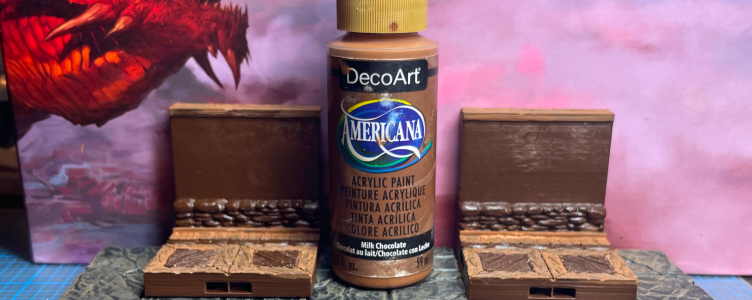
When applying our Milk Chocolate brown wood color, you could water it down a tad but be careful, if you apply the paint too runny, you’ll have to go back and do a second coat (which is a real bummer). DM Ben simply applies this wood color nearly straight from the bottle and just dabs his brush in water occasionally. Keep it simple.
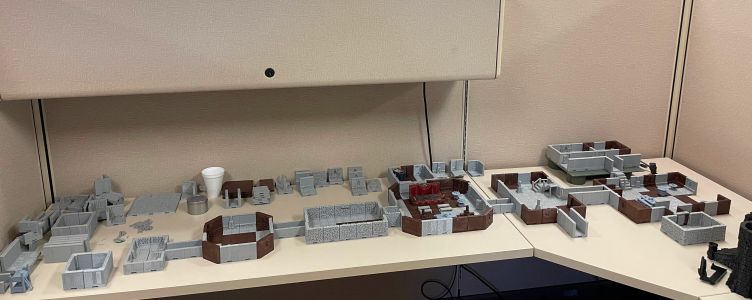
If you recall, we printed out an entire Milestone Heroes Village Inn setup with all sorts of sub-rooms including a kitchen, a keg room, an outhouse, the main bar area, a performance stage section, a back office, a storage room, several private bunk rooms to rent, etc. Basically, we printed up a very large gameboard with the most likely rooms and dimensions. This should give us plenty of pieces to build a variety of indoor encounters as needed.
And certainly, we’ll print more tiles as the Milestone Heroes monthly Patreon releases ’em. They will most definitely include more tiles in future set add-ons.
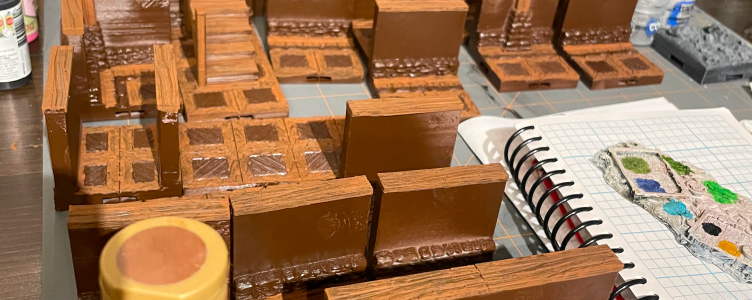
Now remember, you’re applying this wood color to allllll your applicable pieces as one big step. Treat it like a Ford Model T assembly line and just quickly move from piece to piece. This process is going to be a little draining at times but this approach will ultimately save you a lot of time.
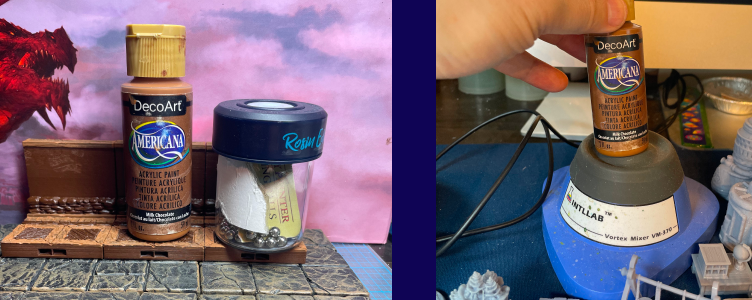
A handy tip is to add three metal mixing balls to your paint bottles and then grab an Intllab Lab Vortex Mixer from Amazon. Very important that you mix/shake your points before applying. This makes a world of difference.
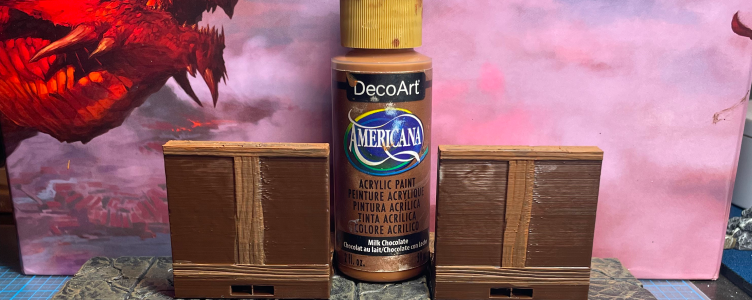
You’ll see that our primer is showing through the Milk Chocolate wood layer a tad. That’s a good thing. Again, don’t panic. We promise that your final pieces will look amazing. Once we apply the wash in Step 5, then everything will pop but until then, you just gotta have faith. You could of course always do just a couple of pieces from start to finish if you don’t trust us. 😉
Next week, it’s on to Step 3: the stone layer!
advertisement
View all results
advertisement
