advertisement
14 February 2024
Today we’re going to start our very first detailed paint guide for Village Inn Interior DnD tiles! A well-thought-out, step-by-step plan is crucial for one’s sanity and productivity. By knowing all the exact steps before you begin, you can save you an immense amount of time and also give yourself a huge boost of confidence.
We’ve been meaning to start this DnD village interior terrain paint guide for a while so we thought breaking it out into weekly steps would be the best approach to share the knowledge. So each week we’ll add a detailed step to this guide so you have everything you need to finish your interior house rooms! Let’s dig in!

As a caveat, we adore and respect all the tremendous work all the creators are doing these days. Hard stop. However, many publishers are inadvertently missing a key element of their release process and that is providing detailed paint guides to go with their fab work. Comprehensive paint guides are like the final treasure piece at the end of a campaign! You need it to complete the journey!
By telling us how to paint, you allow us to take countless piles of printed pieces and turn them into playable game boards. The more we paint and use, the more we stay a Patreon member. It’s that simple. And yet finding detailed, clear paint guides eludes nearly every creator out there right now. It’s a dark cloud on the industry. 3D RPG is going to try and do its part to push this key ingredient forward by doing a series of different core paint guides to help you get more out of your 3D-printed piles.
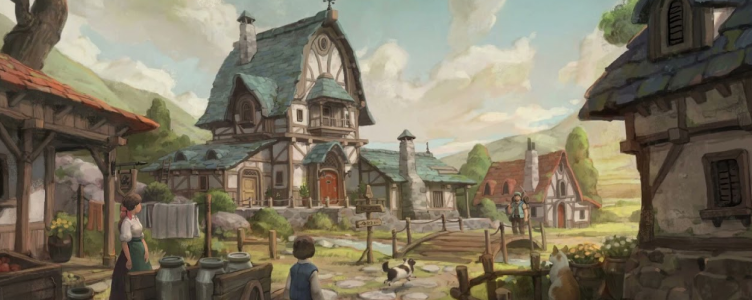
So how many different core paint schemes do we actually need? To simplify it, if you know how to paint these five key DnD themes, you can pretty much paint any scatter terrain piece that comes off your 3D printer.
Thus, we have been focusing our efforts on these:
Our first 3D RPG Paint Guide will indeed be the Village Inn interior schema but we’ll eventually be publishing a detailed guide for all of ’em.

Let’s start with what specific 3D-printed tiles we’re going to hang our hat on here for the Village Inn theme. Picking the right maker is a big deal. The overall commitment is real so this key step shouldn’t be done haphazardly. Think it through.
We had several criteria in this selection process including:
Milestone Heroes meets all our 3D RPG criteria here and instills a confident nod as a monthly Patreon pick. They have nine (and counting) different sets of Village tiles: the Core set, Inn & Tavern, Hovels, and then six expansions. This vast variety of tiles is key as we want to be able to print up a new piece in a jiffy as the next encounter requirements come to life.
Our paint guides are going to be quite detailed here, gang. Vague instructions really chaff our backsides. We don’t want to read things like “Just use a light brown” or “Simply brush it on” – that’s too vague! Details matter here!
Tell us the exact brands of products you are using and include links. Don’t skip any steps. Be specific on the type of brush stroke. Assume your DnD paint guide readers are all novices. That’s the sorta approach we’re going to take here. Enough of that though – let’s get to it!
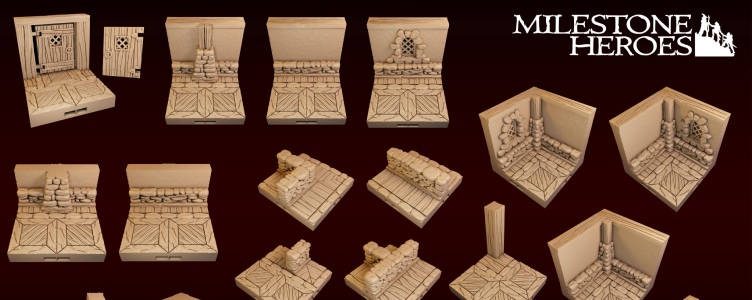
We’re starting with Milestone Heroes’ Core Village Set (#0) and in particular, a very common wall piece. This is a cost-effective selection because their Patreon releases lots of older sets for free each month so it doesn’t take long for you to ultimately acquire them all.
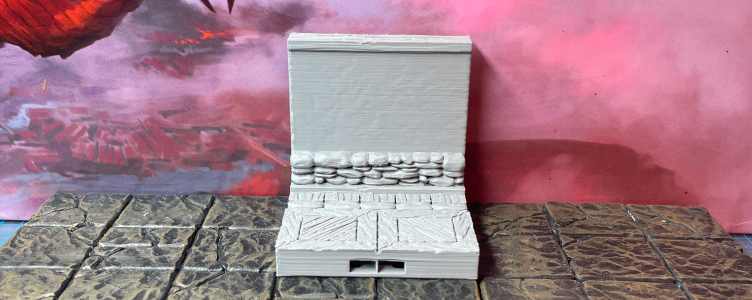
To demonstrate the paint scheme steps here, we selected this very common wall piece because it has all the elements you will ultimately need for any tile in your DnD Village interior theme. This one has the d20 floor pattern, row of stones, core wall design, and wood trim elements all in one piece. Perfect!
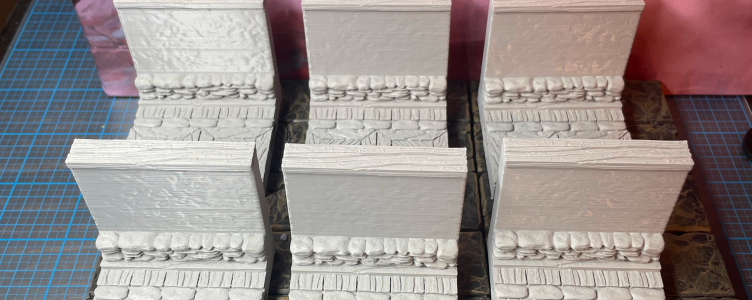
We’ve printed six copies of this standard wall piece to ultimately demonstrate all the steps. You need to visualize the entire process so that dropping that color down on hundreds of 3D-printed pieces becomes less intimidating.
So each Wednesday, we’re going to update this article and add the next step in the paint process:
Pretty cool, right? Don’t you wish every creator did this sorta thing with their file releases? The cool thing is some are starting to do so including Printable Scenery and Cast n Play. Their guides are more high level but at least it’s a start in the right direction. We also want to give a shoutout to Dwarven Forge and their excellent paint video tutorials (and paint line)…we consider their guidance the gold standard.
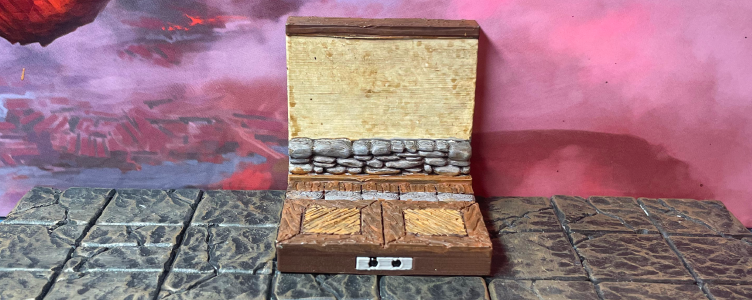
So it’s always helpful to know how this painting tale eventually ends. With that said, here’s a final piece that will have gone through all the steps. Hopefully, it gives you that DnD Village terrain interior vibe. We keep one on our desk to serve as an easy matching reference as well as a little inspiration.
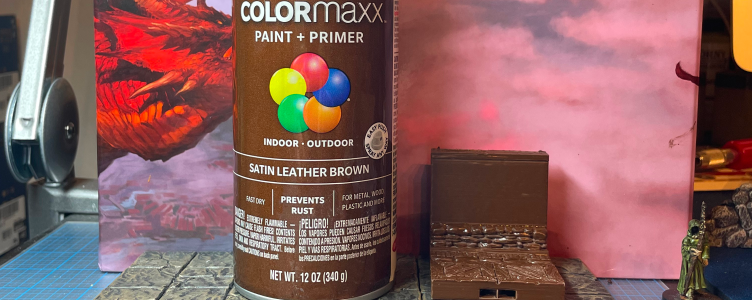
So without further ado, here’s Step One in our Dnd Village Inn 3D Printed Paint Guide: the primer base coat. It’s crazy how important this first selection is. Some will say, “Just pick a dark brown?” but that’s too vague for a novice. You’re going to use a lot of this primer so think it through, man!
We asked ourselves these sorta questions:
You’re going to prime a bunch of tiles initially but there will come a point where you pause and then suddenly months later, you’ll need a new can because Milestone Heroes released yet another Village expansion!
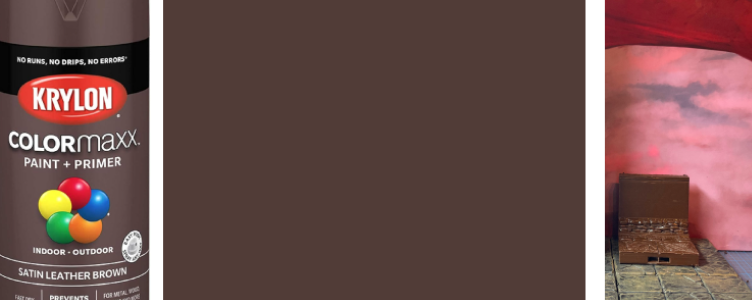
We selected this Satin Leather Brown darker primer by Krylon. It’s a very popular primer color and a core product in their line. You can always find it at Lowe’s and Michael’s. Best of all, you can buy it online at a reasonable cost and then just have it delivered to the store closest to you. DM Ben bought a six-pack to get the price per unit even a little lower…plus, he knows he has a hearty supply of it at his fingertips.
Also, be mindful of the types of primer: flat, matte, satin, etc. That matters. Satin is said to have the best sticking power.
Side note: the Citadel primers are exceptional but darn pricey. So, we save that product line for individual minis and small scatter terrain pieces.
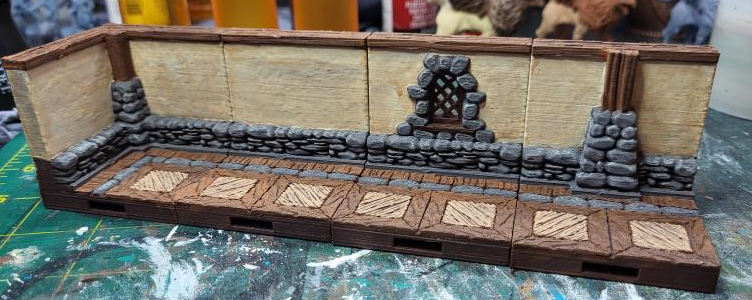
Lastly, we need to tip our helm to Buck Wiley on the Milestone Heroes Discord. He originally showed off his paint scheme, and we instantly decided we just had to have it for our own Village tiles. He was very kind in breaking out all the details for us (and answering a lot of annoying questions). We just made a few tweaks along the way to make it our own.
Next WIP Wednesday, we move to the following painting step: Coloring the Wood Elements.
advertisement
View all results
advertisement
