advertisement
6 March 2024
WIP Wednesday already? Let’s go ahead and “paint the town red” or Bleached Sand as it were. It’s Paint Step 4 of our Village Inn Interior Guide or as DM Ben likes to say, “It’s wall time, baby!”
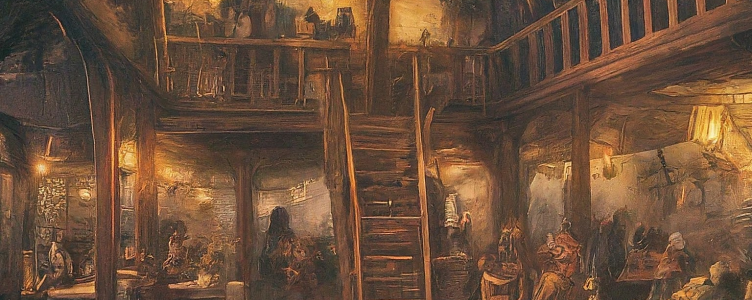
Our paint scheme is starting to take shape so we’re having a blast revealing these steps. As usual, let’s begin with a recap of where we’re at.
The biggest amount of brushstrokes in this process will undoubtedly fall to the wall color step. You’ve got a lot of flat surface area to cover, people!
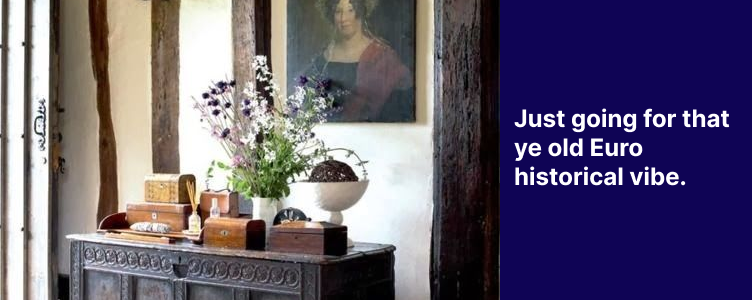
We’re going with an old European Tudor house, yet somewhat dirty white color for our interior village walls. The brown wood color pairs well with the off-white walls and exudes that historical ambiance feeling.
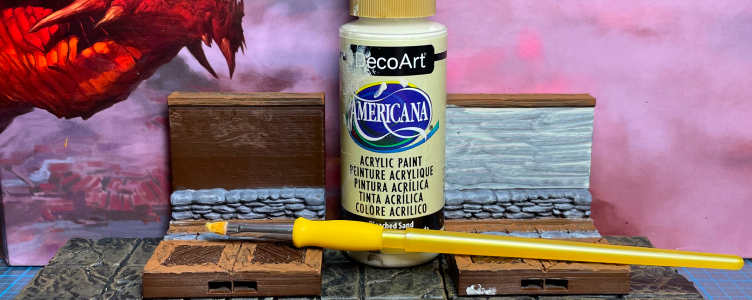
So you’ve seen in earlier steps that we we’re an equal opportunity paint brand selector. Meaning, we’re not afraid to use a more expensive, yet smaller bottle of ArmyPainter Speedpaint or Citadel Contrast paint if it gives us the best overall look.
Still, we’re talking hundreds upon hundreds of 3D-printed pieces for a major DnD environment like interior village inn tiles. So, we would rather pay $.99 for two larger bottles at Hobby Lobby vs many smaller higher-end, pricier paint bottles.
Consequently, this wall step truly pays to use cheaper craft paint, especially because of the smooth 3D surfaces. So in this wall step, we’re using Americana’s Bleached Sand.
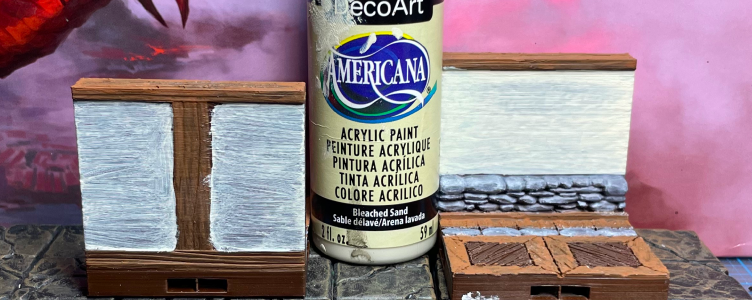
Since this portion of our 3D tiles doesn’t take acrylic paint as well, they will most definitely require a second coat of paint. And that’s ok because we don’t mind a little extra elbow grease if the final version matches our vision. See how light the first coat is on the left but then our piece on the right becomes right as rain with a second pass of Bleached Sand? Big difference, right?!
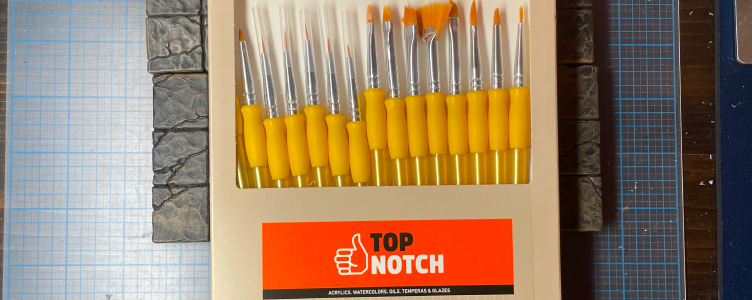
We’ve also gotten a lot of questions about what sorta brushes we’re using for a large terrain paint assembly line project like this one. DM Ben likes this Top Notch pack of brushes from Joann. The 15-brush-set holds up well over all our rigorous steps and the under $10 price is easy on the wallet.
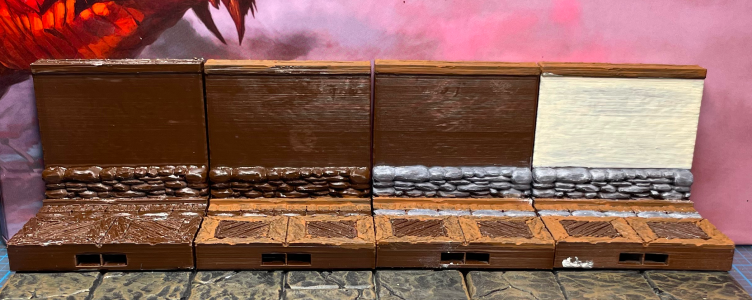
So now let’s check in on our paint scheme progression and compare the tiles so far. Our journey began with a brown primer, then some wood color, followed by the stonework, and now here we are with the wall color filled in. See how it’s all starting to come together?!
Next week, we inch one more step closer as we apply the accent color to the d20 floor squares!
advertisement
View all results
advertisement
