advertisement
20 March 2024
We’ve been preaching patience on our Village Inn Interior paint guide and this is the big paint step that turns the tide on your tiles!
To this point, your WIP tiles probably look a bit “flat” overall, but fasten your seatbelts because you’ll finally see how a simple wash step can literally transform your 3D-printed tiles before your eyes! Do you put a wash on a painted piece all the time? No, but definitely about 80-ish percent of the time.
So, let’s quickly check where we are in our steps here:
We’re so close, guys!

A dark wash makes a piece look “used,” meaning those floors and walls now have a little dirty grime vibe going on here. The same is true for your miniatures, as many have probably been through some rough and tumble times. It’s not like your character is taking daily baths, right?!
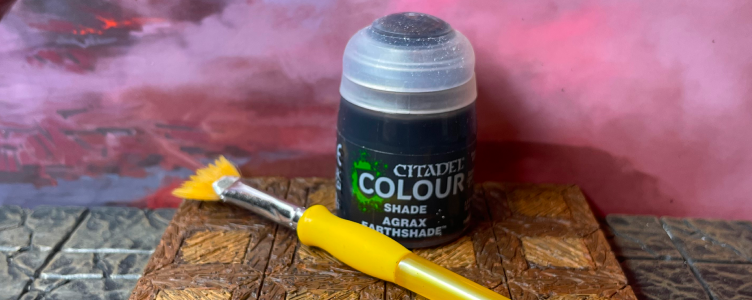
Two key items in this dark wash step are the specific wash and the brush you pick. We originally tried some swell, homemade black and brown washes by Black Magic Craft. We made his original recipe, but he then made an updated video for these revised washes. However, 3D RPG hasn’t tried these, so we can’t comment on them quite yet. His original washes were decent, but neither the black nor brown took our tiles where they ultimately needed to be.
So, even though using Citadel’s Agrax Earthshade (a staple in your paint library) is a pricier move, this dark wash step is just too important to “cheap out” on. And honestly, this Citadel bottle goes a long way.
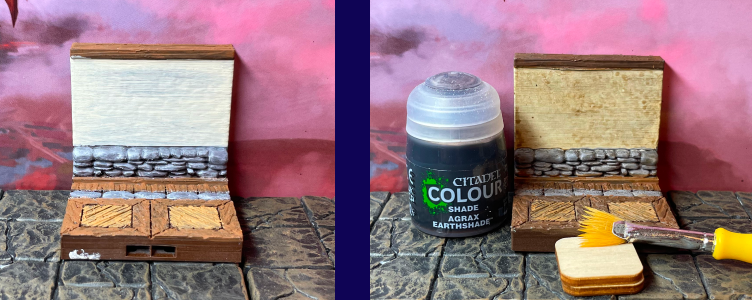
We also use a feather brush and apply the wash to the entire piece, including the floor and walls. Two bottles of Agrax Earthshade covered a sizable amount of Milestone Heroes Village Inn pieces. Don’t skimp here, as you’ll regret doing so.
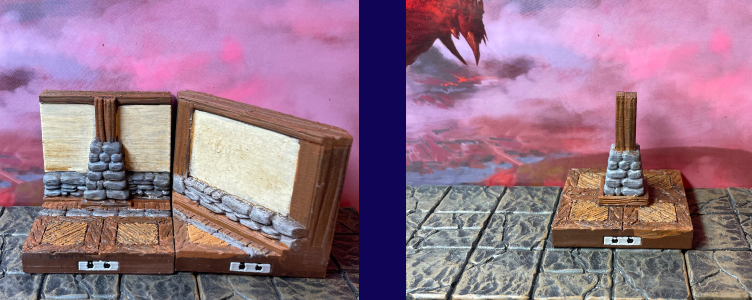
Your tiles will transform before your eyes! The tile from Step 5 goes from an awkward, bright look to a classic, musty tavern vibe. They look so much better! You can finally exhale!
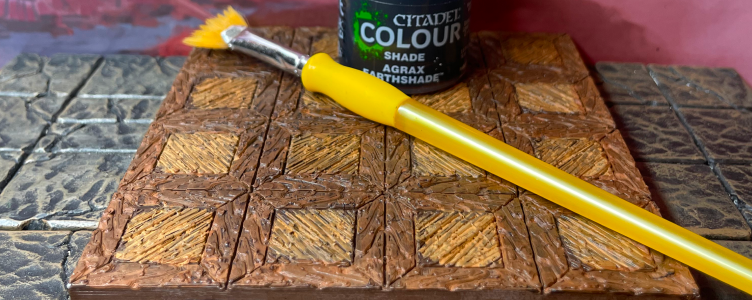
And here’s a 6×6 floor tile, one of our favorite Milestone Heroes STLs, to print! It really shows off the dark wash step.
So, only two simple tasks remain! Next week, we’ll explain the protective matte finish and show you the soul-warming magnet steps. Queue the dramatic music!
advertisement
View all results
advertisement
