advertisement
8 May 2024
This is it, you guys! The grand finale of our second step-by-step paint guide to help all those novice and average hobbyists out there who want super detailed steps to ensure making their new ruinous gameboard is a fun experience and not a frustrating one! Let’s go!

Again, these last two steps aren’t the sexiest, but they make a big difference to the life and usability of your new 3D-printed RPG Milestone Heroes Dungeon Ruins tiles!
For one last time, let’s briefly check in on our steps:
There’s some debate about whether it’s better to swap the order of step 8 (water effects) with step 9 (Matte spray), but we really don’t think there’s a right or wrong way on that. You could try it both ways and see if that clear protective spray muted your water effect too much to your liking.
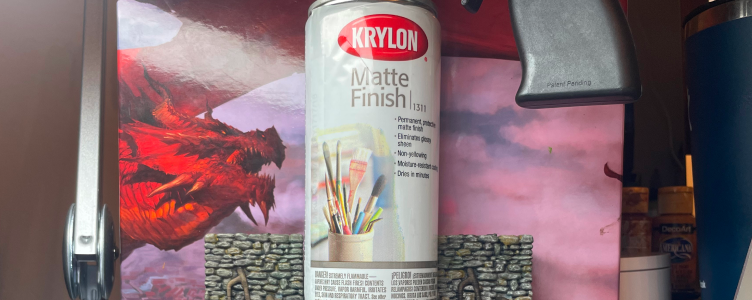
For the protective Matte finish, we once again snapped our handy spray handle on and used a can of Krylon Matte Finish Clear from our local Walmart (about $6.50). This type of finish will make painted pieces a little darker, so we’re always mindful of that. If we don’t want things too dark overall, we will make our paint jobs a bit brighter (if need be).
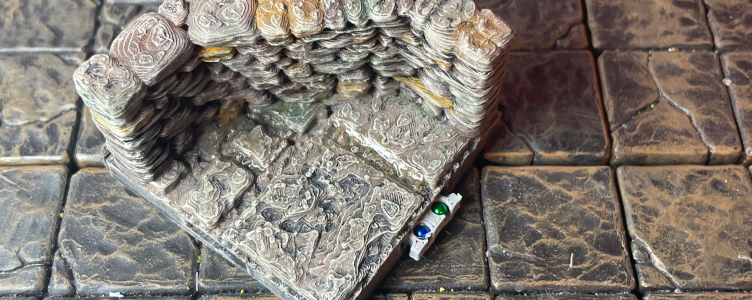
Now, all that remains is adding our magnetic clips so we can assemble our devious dungeon ruins and not worry about all those inadvertent table bumps! Yes, using magnets is more expensive and a little more time-consuming, but in our minds, it’s a no-brainer to do magnets over the traditional Dragonbite-compatible connecting clips. As we mentioned in our Village Tavern Step-by-Step Paint Guide, those clips don’t always connect flush and can be a tremendous pain to disconnect.
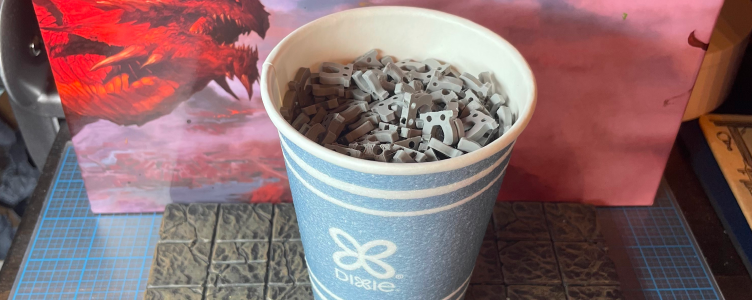
First things first — you will print a lot of the magnetic clips. We always keep a full coffee cup stash at the ready. You can fill your print plate up and run off a bunch in a few hours, but we don’t want anything slowing us down. Being fully stocked with everything at your fingertips makes for a much better RPG crafting experience.
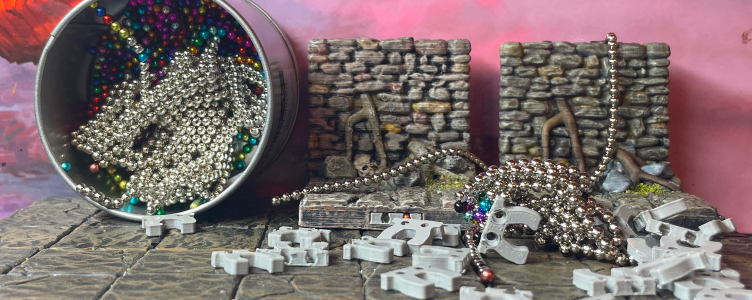
Now it’s time to insert 2 ball magnets in each clip. Once again, we always keep a couple of packs of magnets on hand because what’s worse than being so close to finished only to have to wait a week for another “box” to come in the mail?!
We buy all our magnets from Magnedotz.com because they’re always in stock. Amazon does carry them (sometimes), but they come and go frequently due to some odd rules and restrictions on magnets that we’ll never fully understand. A pack of 1,010 3mm magnets from Magnedotz runs about $38.99 and includes free shipping.
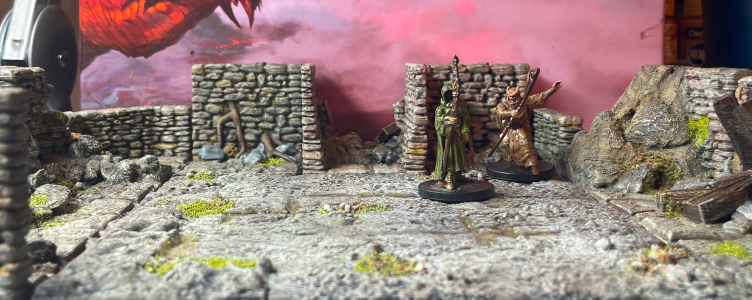
And just like that, you have a realistic-looking DnD Dungeon Ruins paint guide that any novice can follow and will still get plenty of oohh’s & aahh’s around your RPG game table! Exciting!!

Now let’s just recap a handy shopping list so you can grab all your supplies in one quick trip and planning sesh:
The best part is that you will use all the materials many times over on future tiles and other fun DnD RPG paint schemes, so there’s no need to worry about waste here!
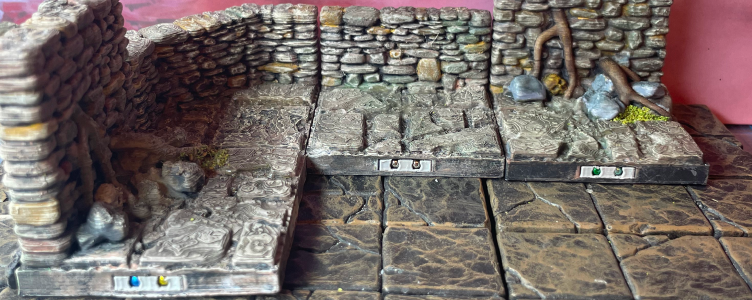
We’ll be sure to share new free one-shots, NPCs, and 3D-printed miniatures and scatter terrain to fit all your freshly painted Dungeon Ruins 3D-printed tiles! Thank you for following along! 🙂
advertisement
View all results
advertisement
