advertisement
28 February 2024
Another Wednesday means another detailed step in our Village Inn Interior Paint Guide! We’re on to Step 3: the stone elements!
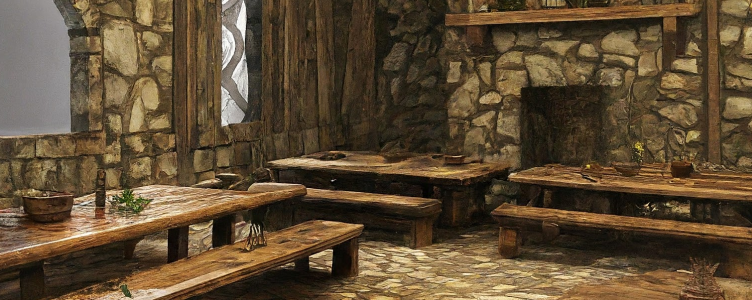
It’s pretty safe to say any old-timey tavern or village house will have plenty of stonework accents, and that’s where we’ll focus our attention today. Let’s check in our steps though and see where we’re at officially…
We got some nice momentum going here and the best news is this particular stone step is a snap thanks to the industry’s shift to SpeedPaints and Contrast Paints.
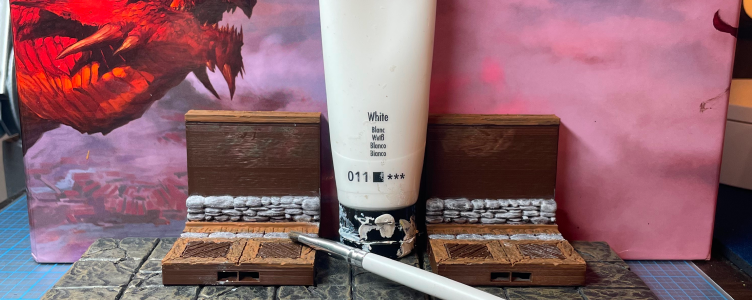
First things first, we need to prep our stones by applying a heavy white dry brush to them to ensure our gray color pops. Any basic, white acrylic paint will work just fine here. DM Ben picks up a tube of white acrylic paint at his local Walmart on the cheap but an Apple Barrel white is even cheaper at $.58.
This initial dry brush white layer is a popular step at times so you’ll be using a lot of this paint. That makes utilizing a cheap brand a smart move. We only use the pricier Speedpaints and Contrast paints for small accent stuff (like these stones).
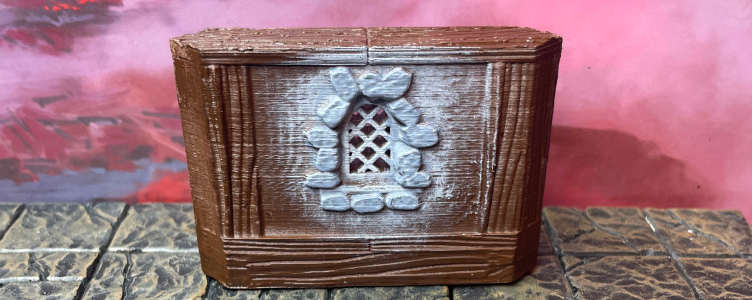
The order of your steps comes into play here because this white dry brushing gets a little messy. You could certainly use a much smaller dry brush and really take your time on each tiny stone but that’s not our jam. We’re all about speed here! We slap the white on those stones and don’t sweat any overage because we’re going to cover that up with a different wall color in a future step anyway.
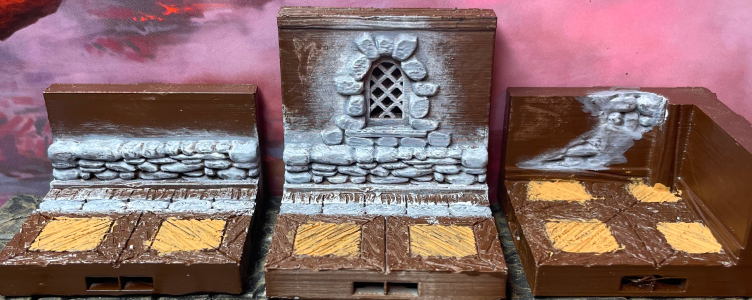
Now, we’re focusing on a very specific wall piece of the Milestone Heroes Village Inn set but as you apply this white to that specific horizontal stonework, go ahead and do it to other pieces in the set too. Remember, you’re Rosie the Riveter on the WWII assembly line – flex those muscles and get crankin’!
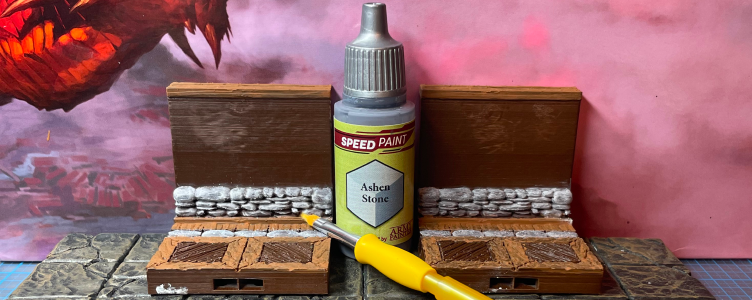
Again, we normally don’t recommend pricier Speedpaints for large terrain projects (vs Apple Barrel or Americana brands) but this ArmyPainter Ashen Stone color works extremely well. Sometimes, sacrificing a few bucks to save a lot of time is very much worth one’s while.
This color is going to go on a little light…much like your wood color did in Step 2. Again, don’t panic! Believe in the process. When we ultimately drop that Agrax Earthshade dark wash on and then spray it with a Matte finish, we promise you’ll be a happy bar patron.
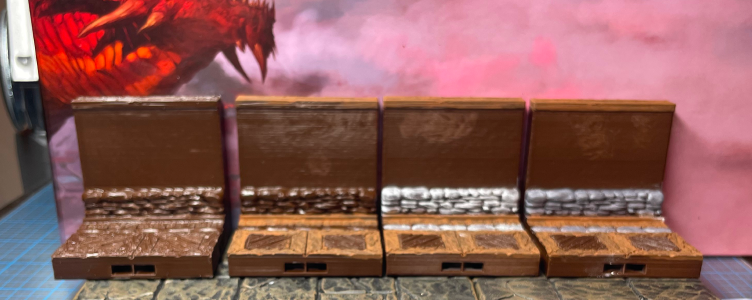
So a final look at our paint progression – primed, wood elements added, stonework heavy dry brush, and now Ashen Stone Speedpaint over the top of that white. Your unpainted pile of shame tiles are getting worried, my friends!
Join us next week for Step 4: the wall color!
advertisement
View all results
advertisement
